Painting Processes

Before you take a deep dive into the world of painting it might be helpful to explore what type of art and what methods inspire you. We each learn in different ways and have different expectations related to art. Here are some thoughts to compare and consider:

  • Do you have a specific style of art you prefer, such as realistic vs abstract or decorative VS expressive?
  • Do you want to do something that has a clear methodology that is learnable with instruction and practice?
  • Do you like watching tutorials and trying the idea or project after?
  • Have you had any art instruction in the past? If so, what did you like or not like about it?
  • Are you open minded about art and want to explore different mediums and styles?
  • Are you willing to make a mess, let go of expectations and discover through a creative process?
  • Do you prefer to learn hands on and in person?
  • Do you have any favorite artists? Do you visit local museums, galleries or art shows?

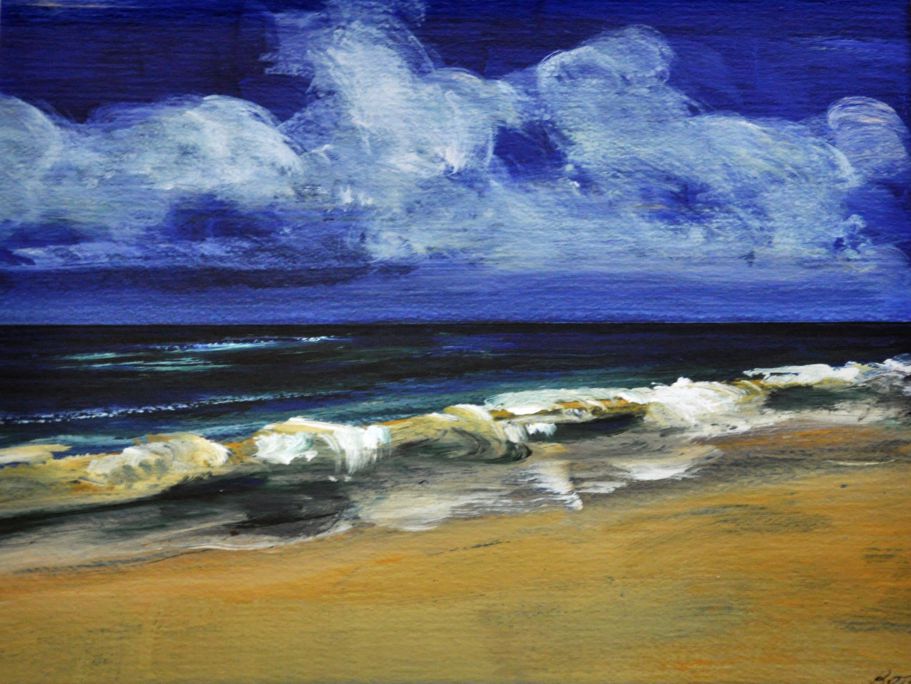
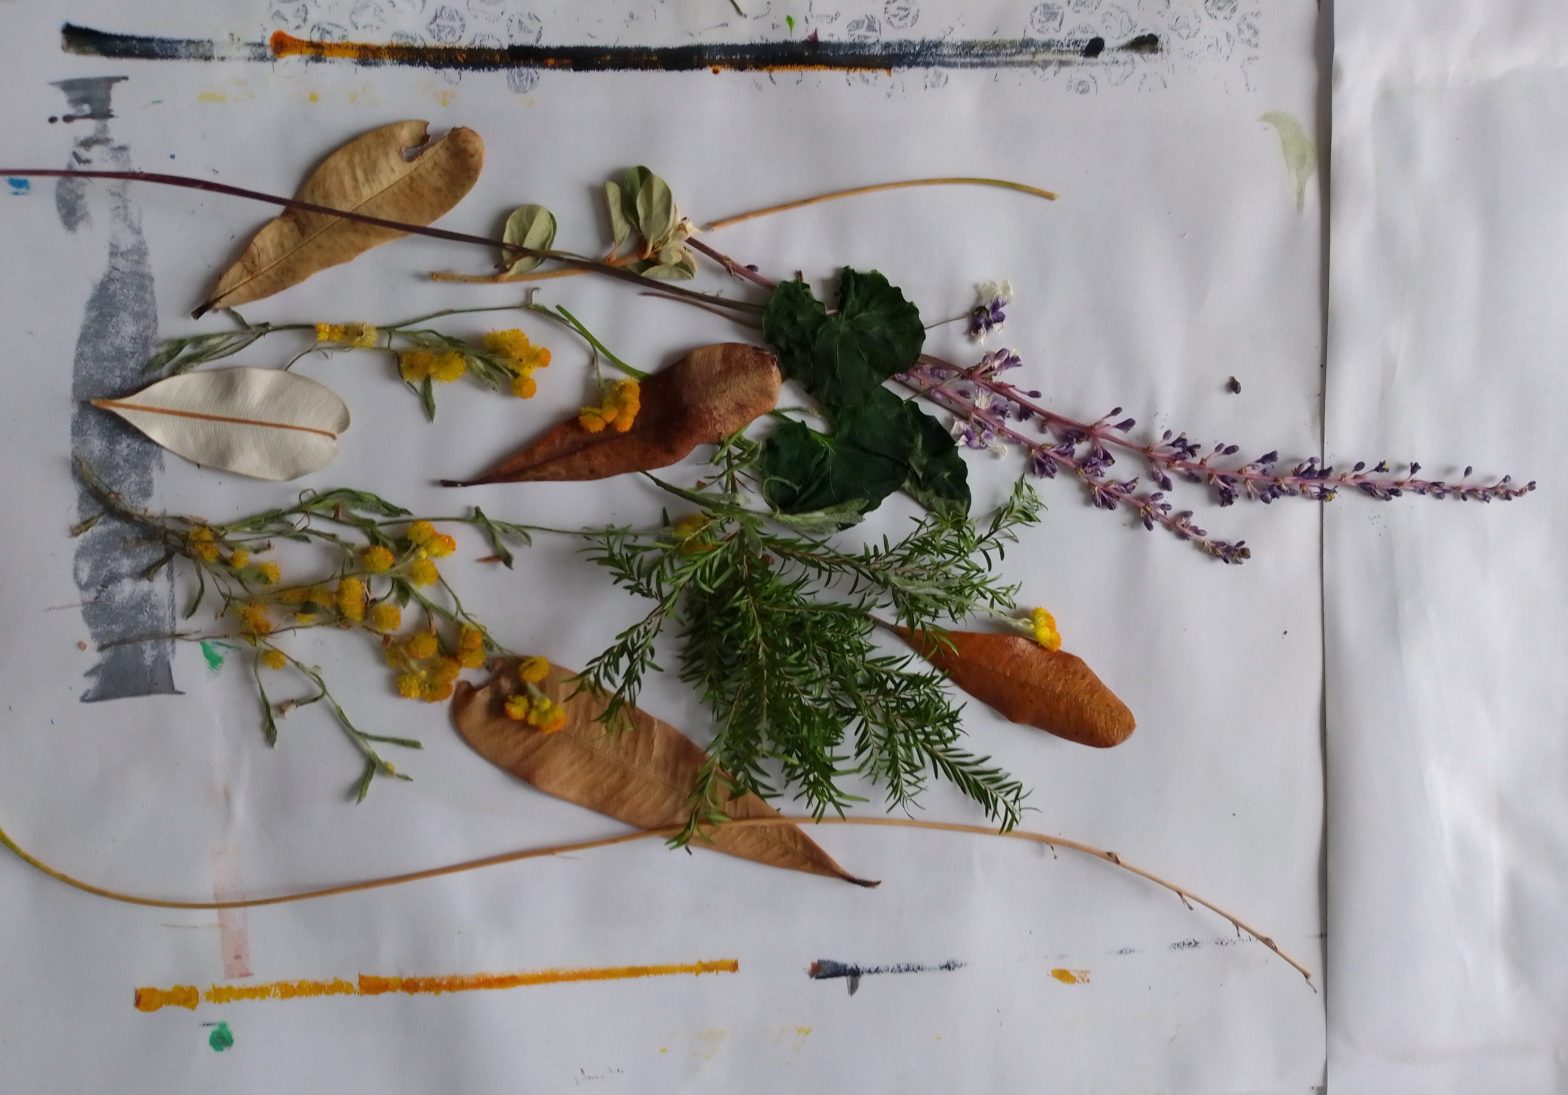
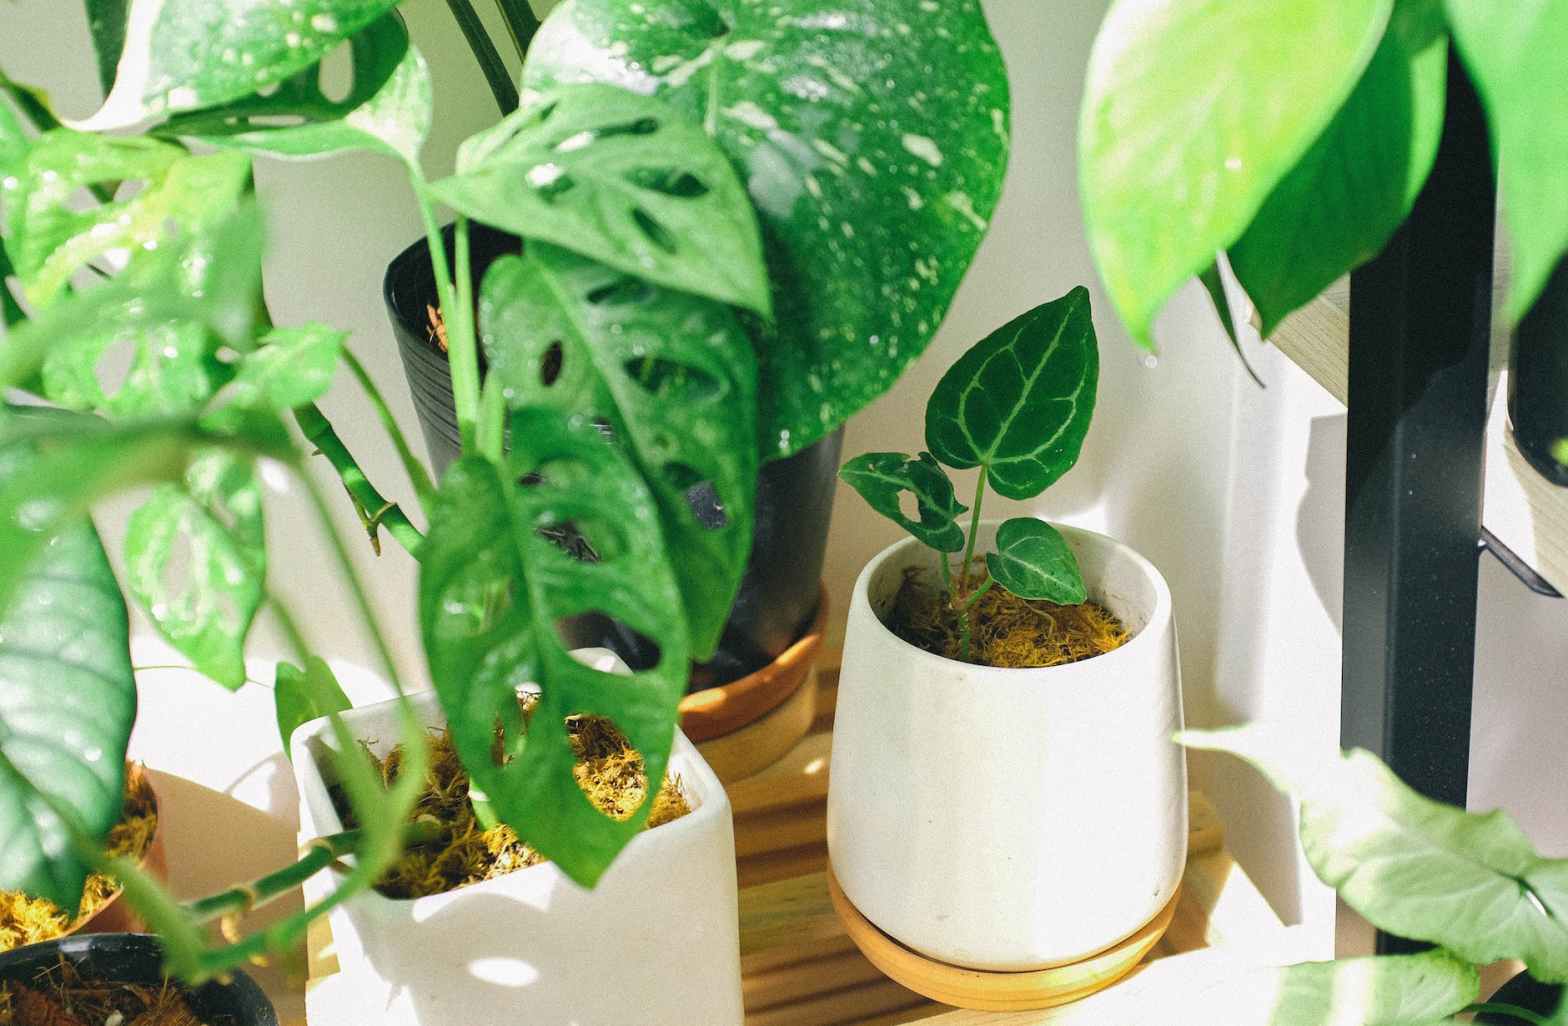
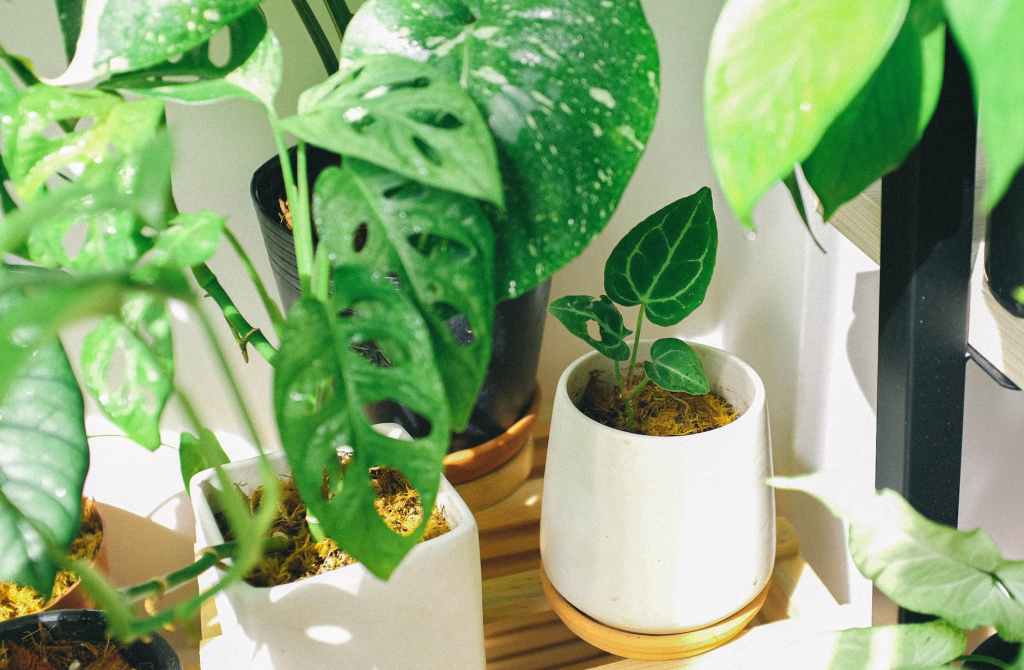
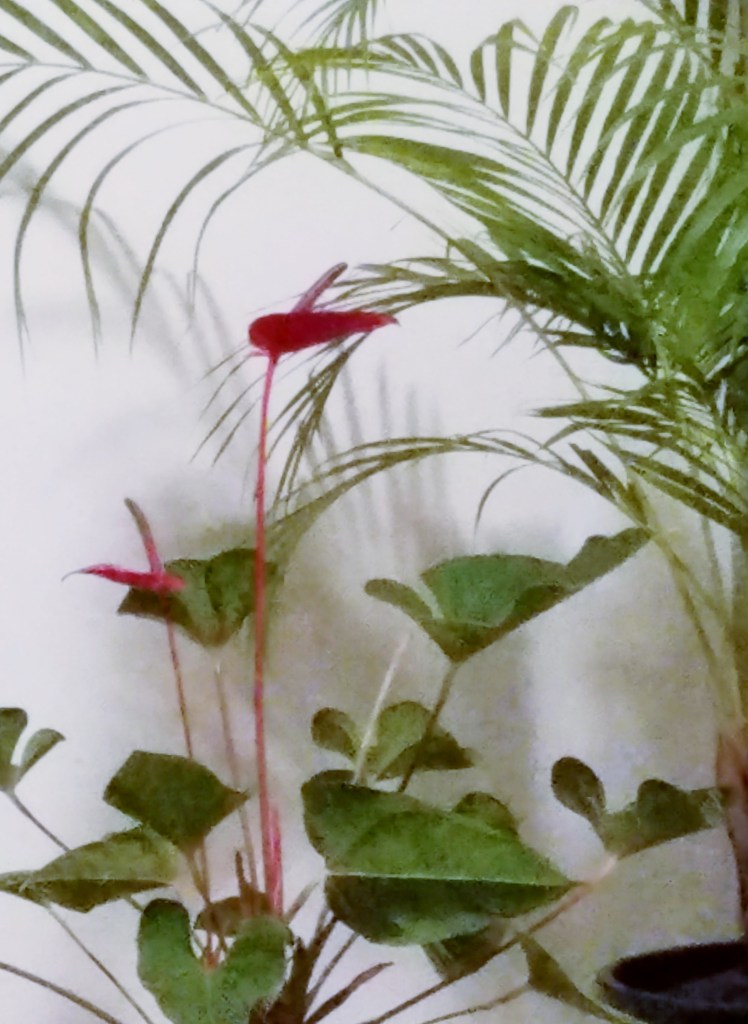
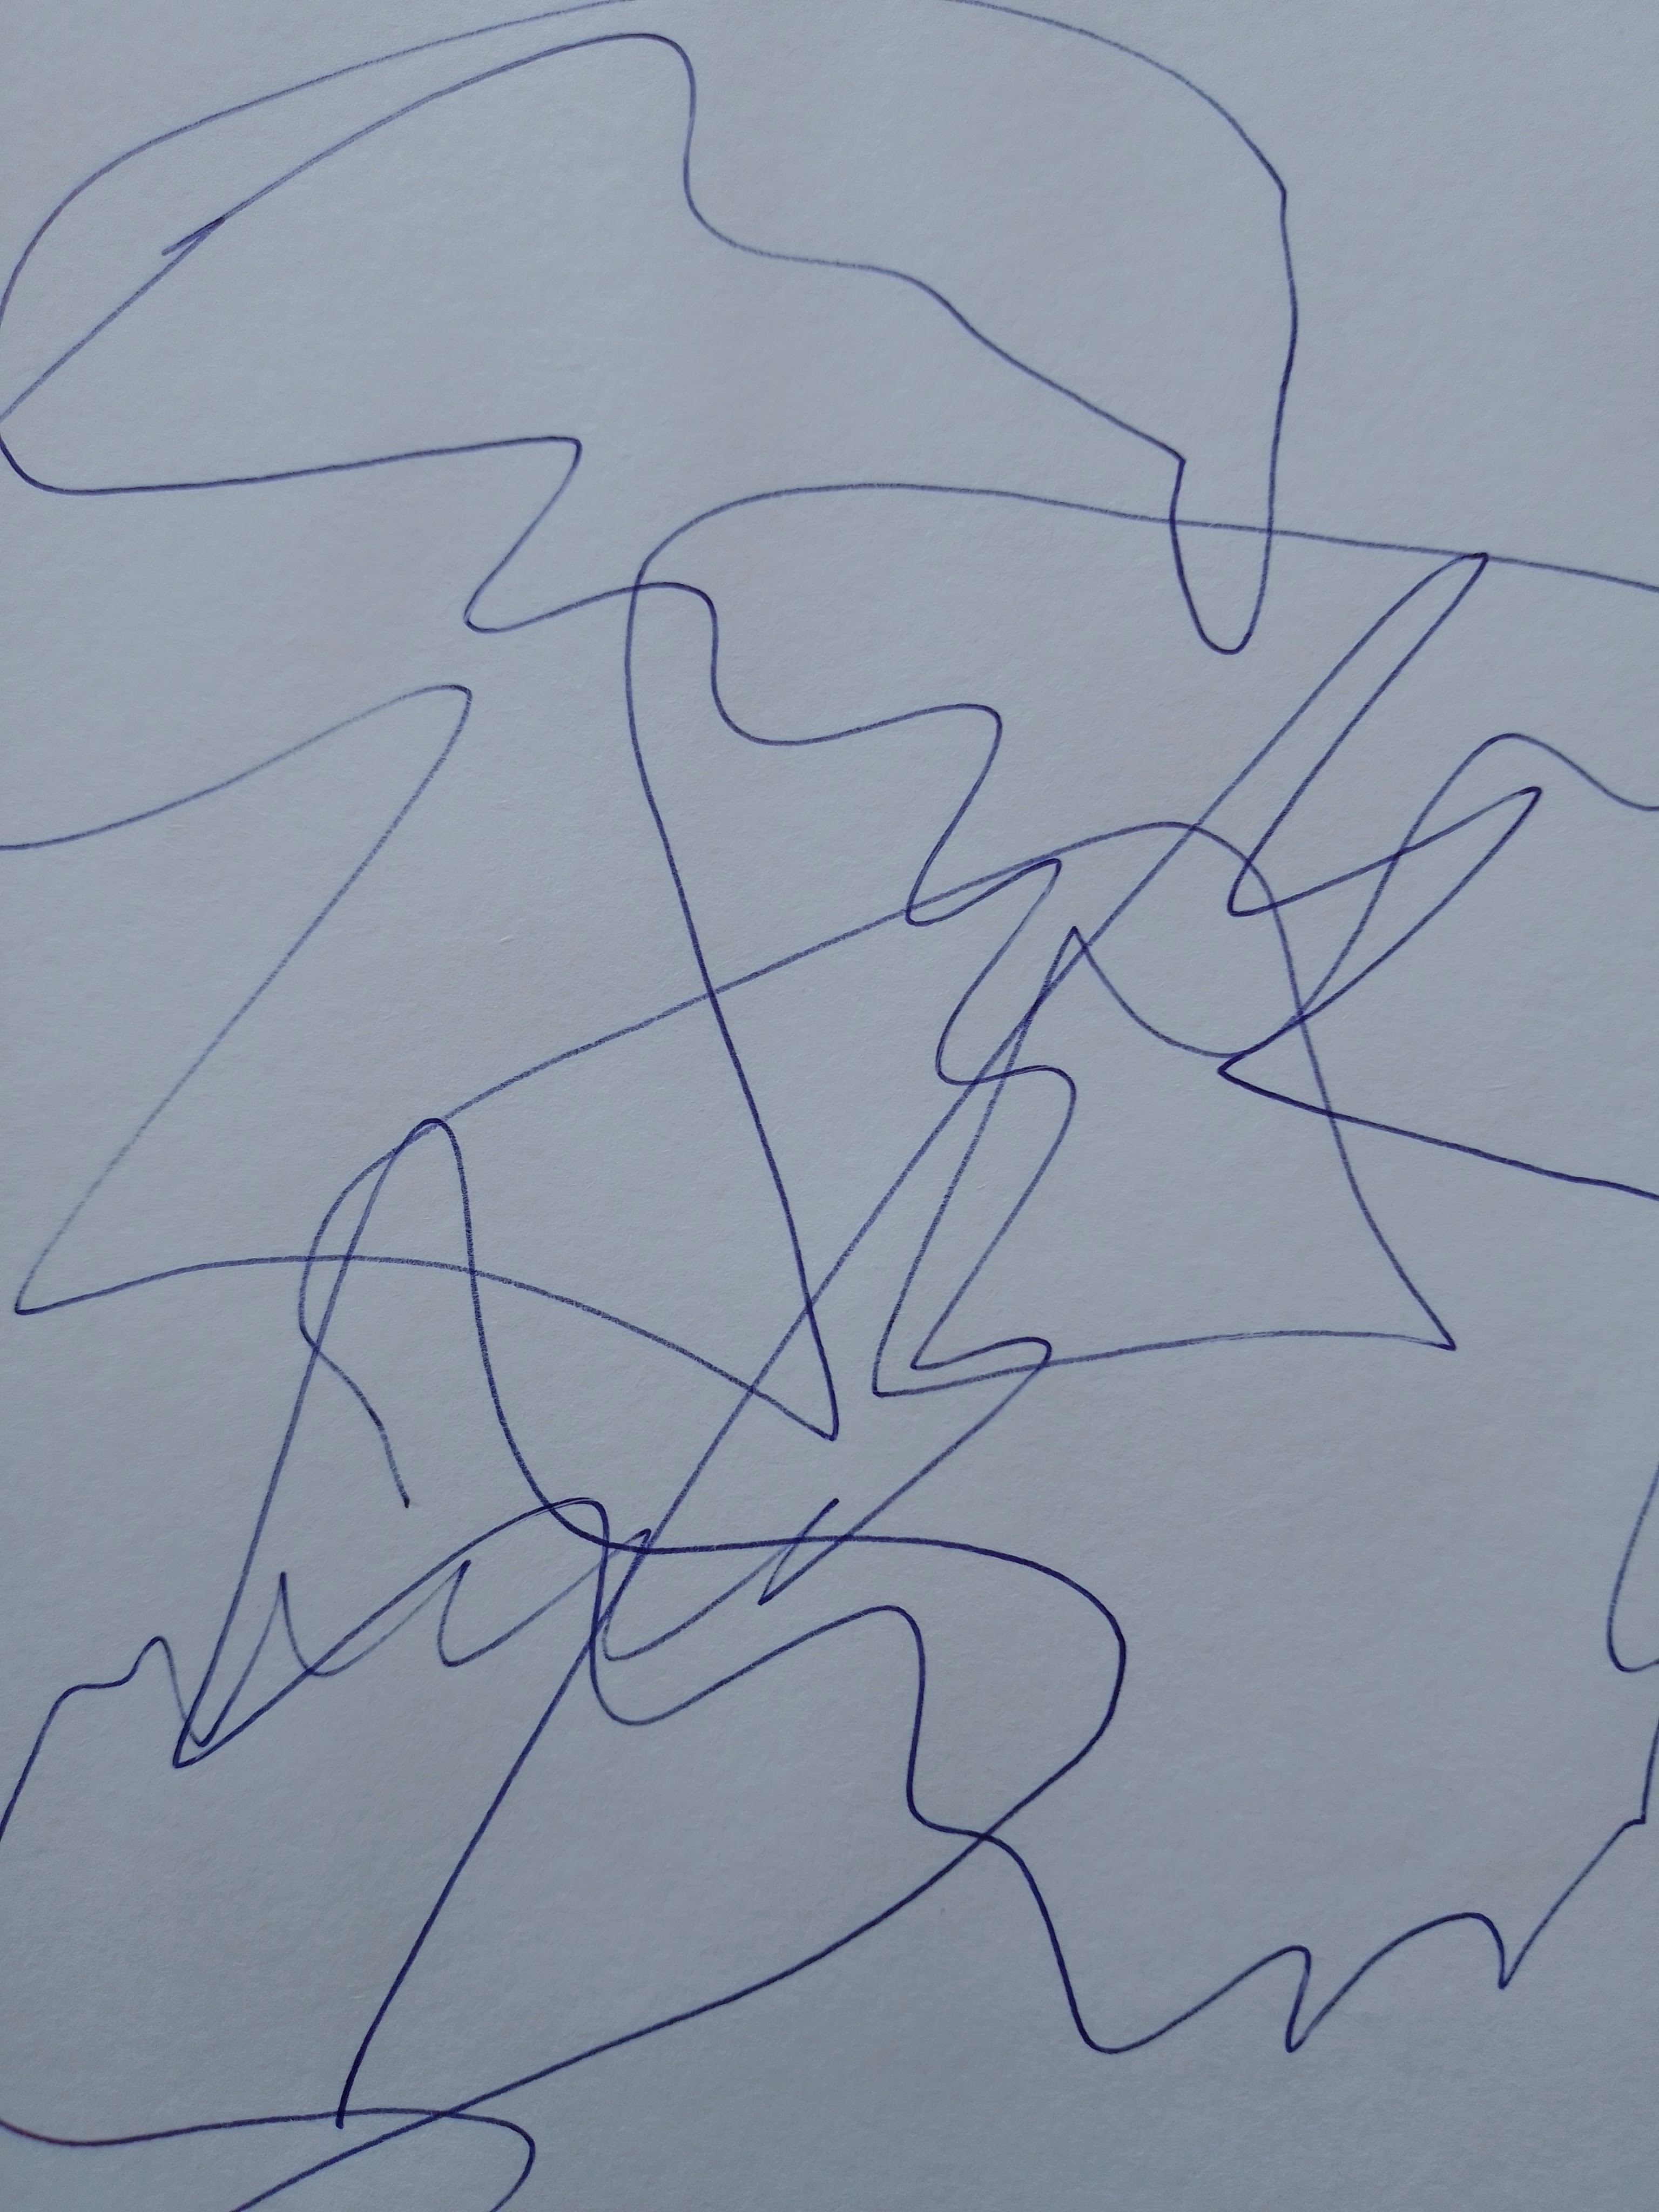
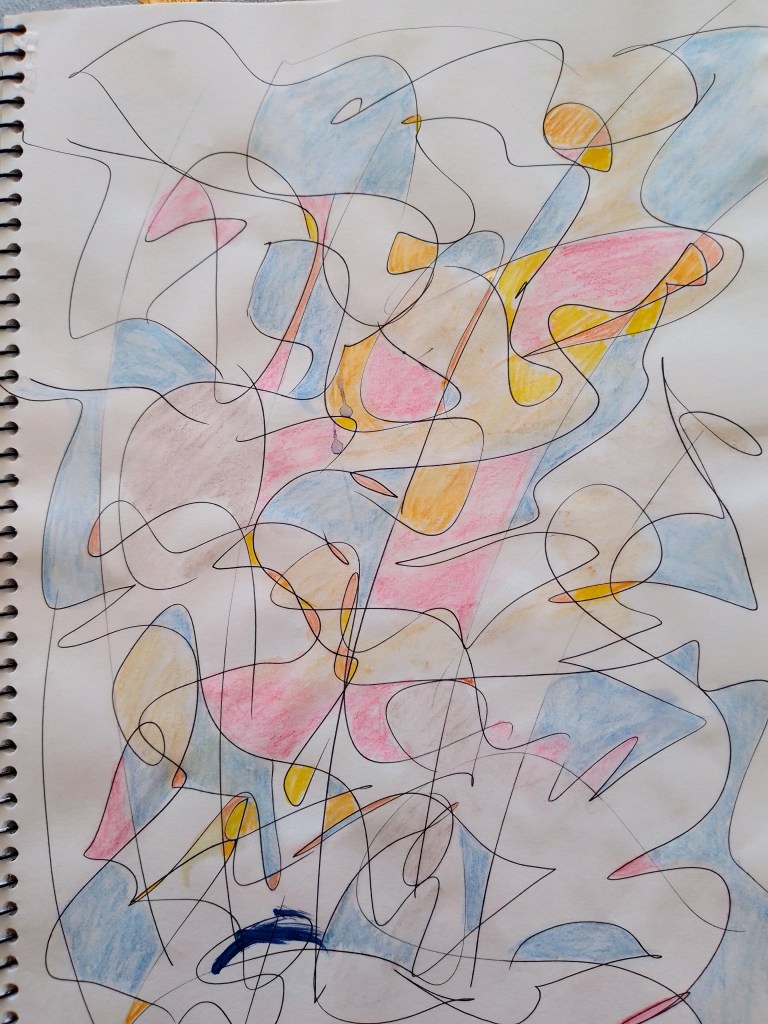
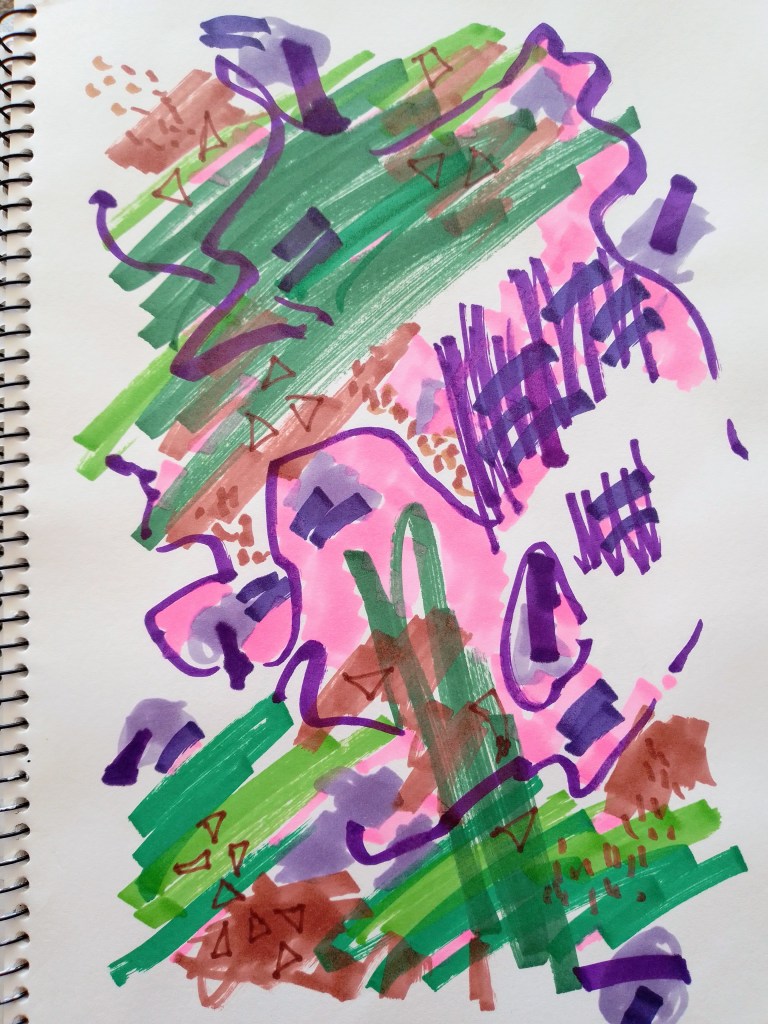
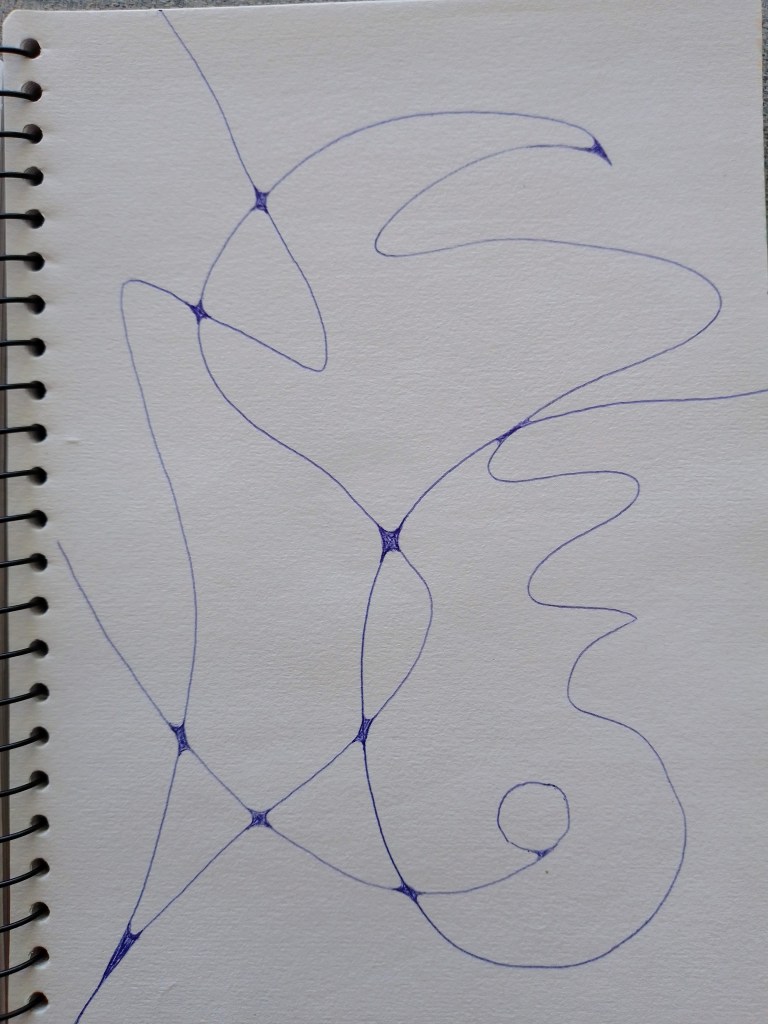
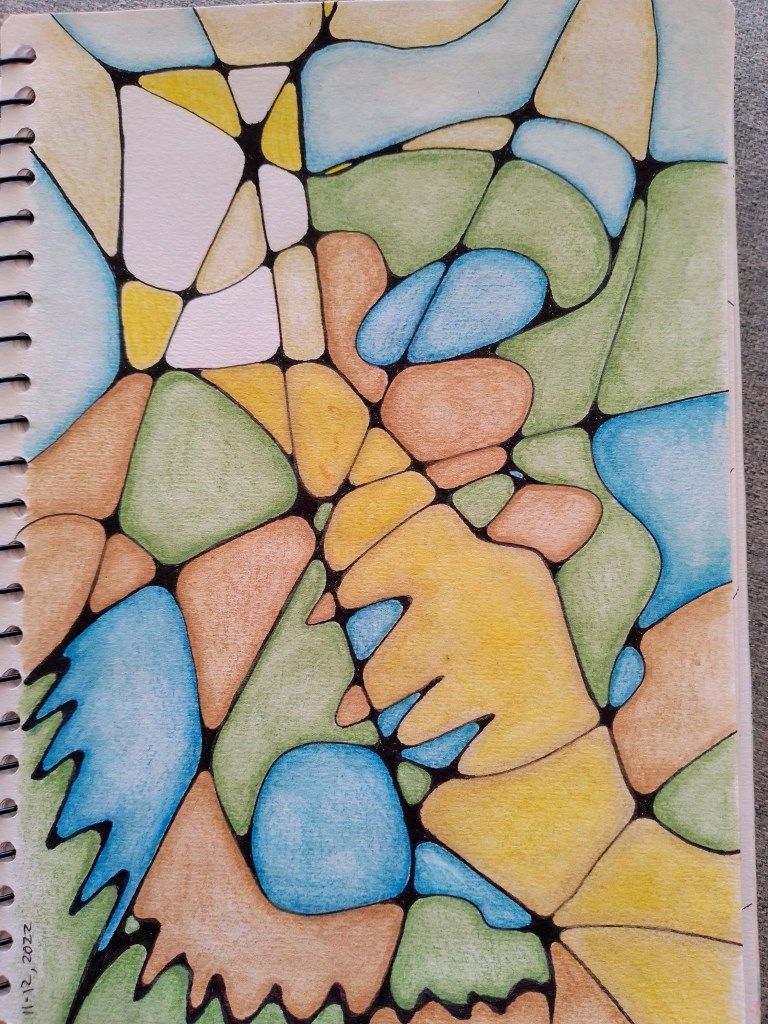
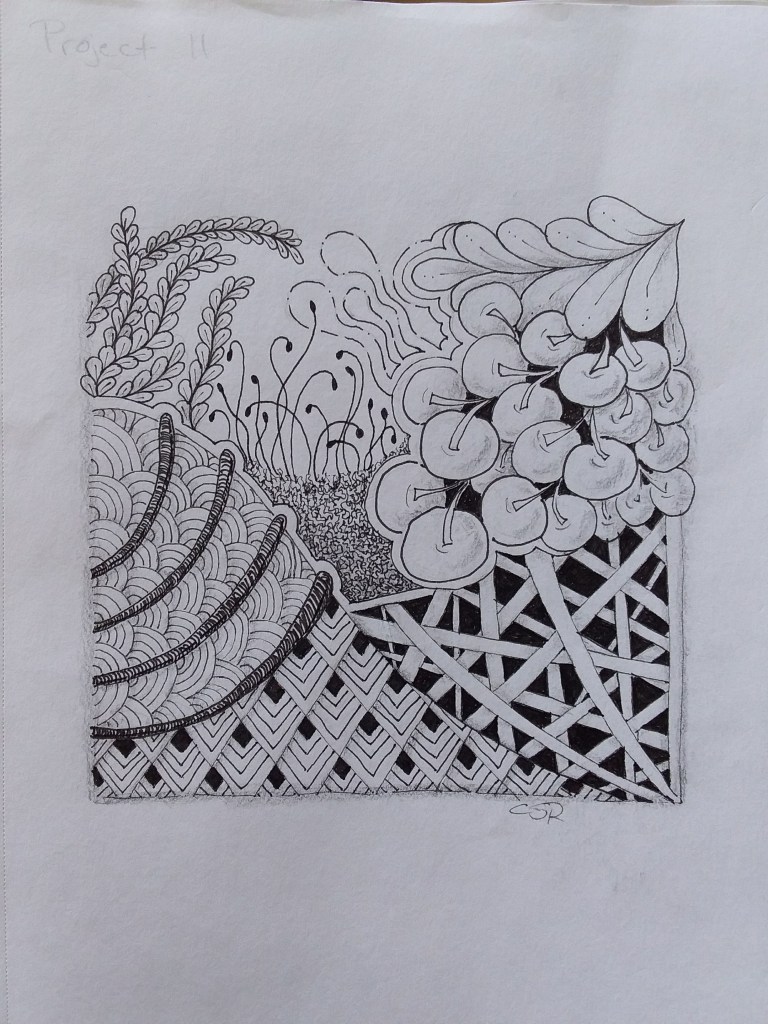
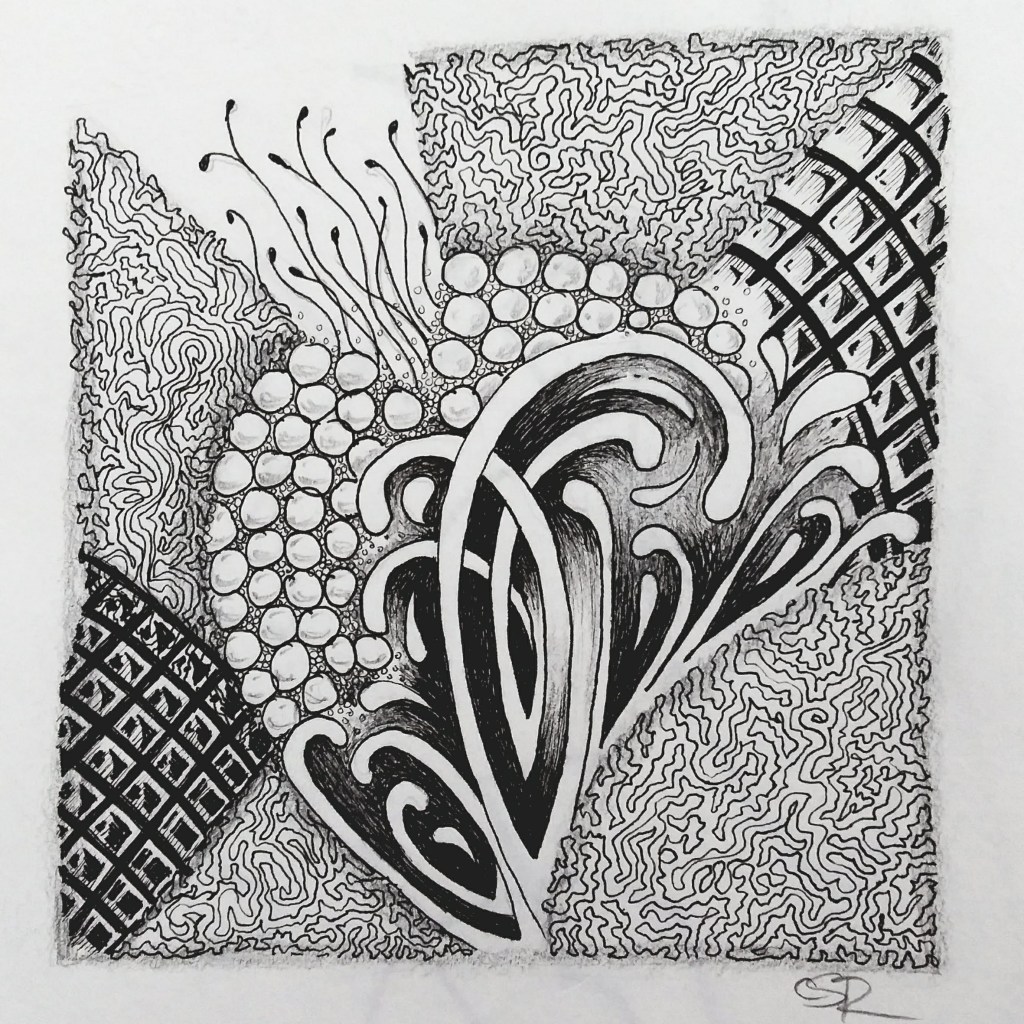
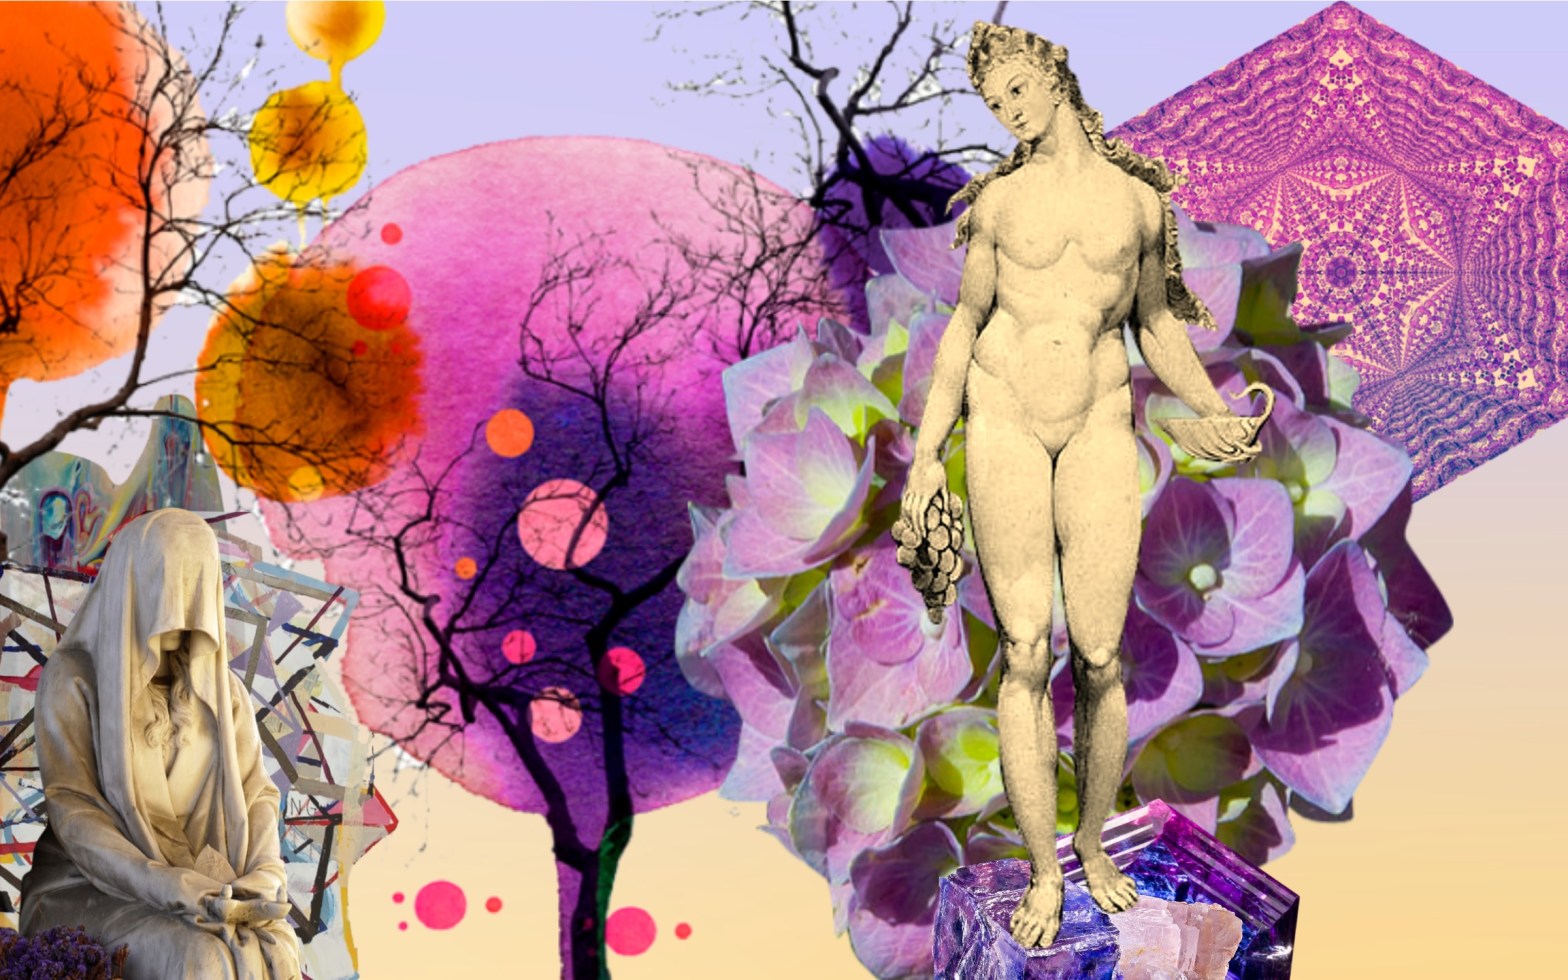
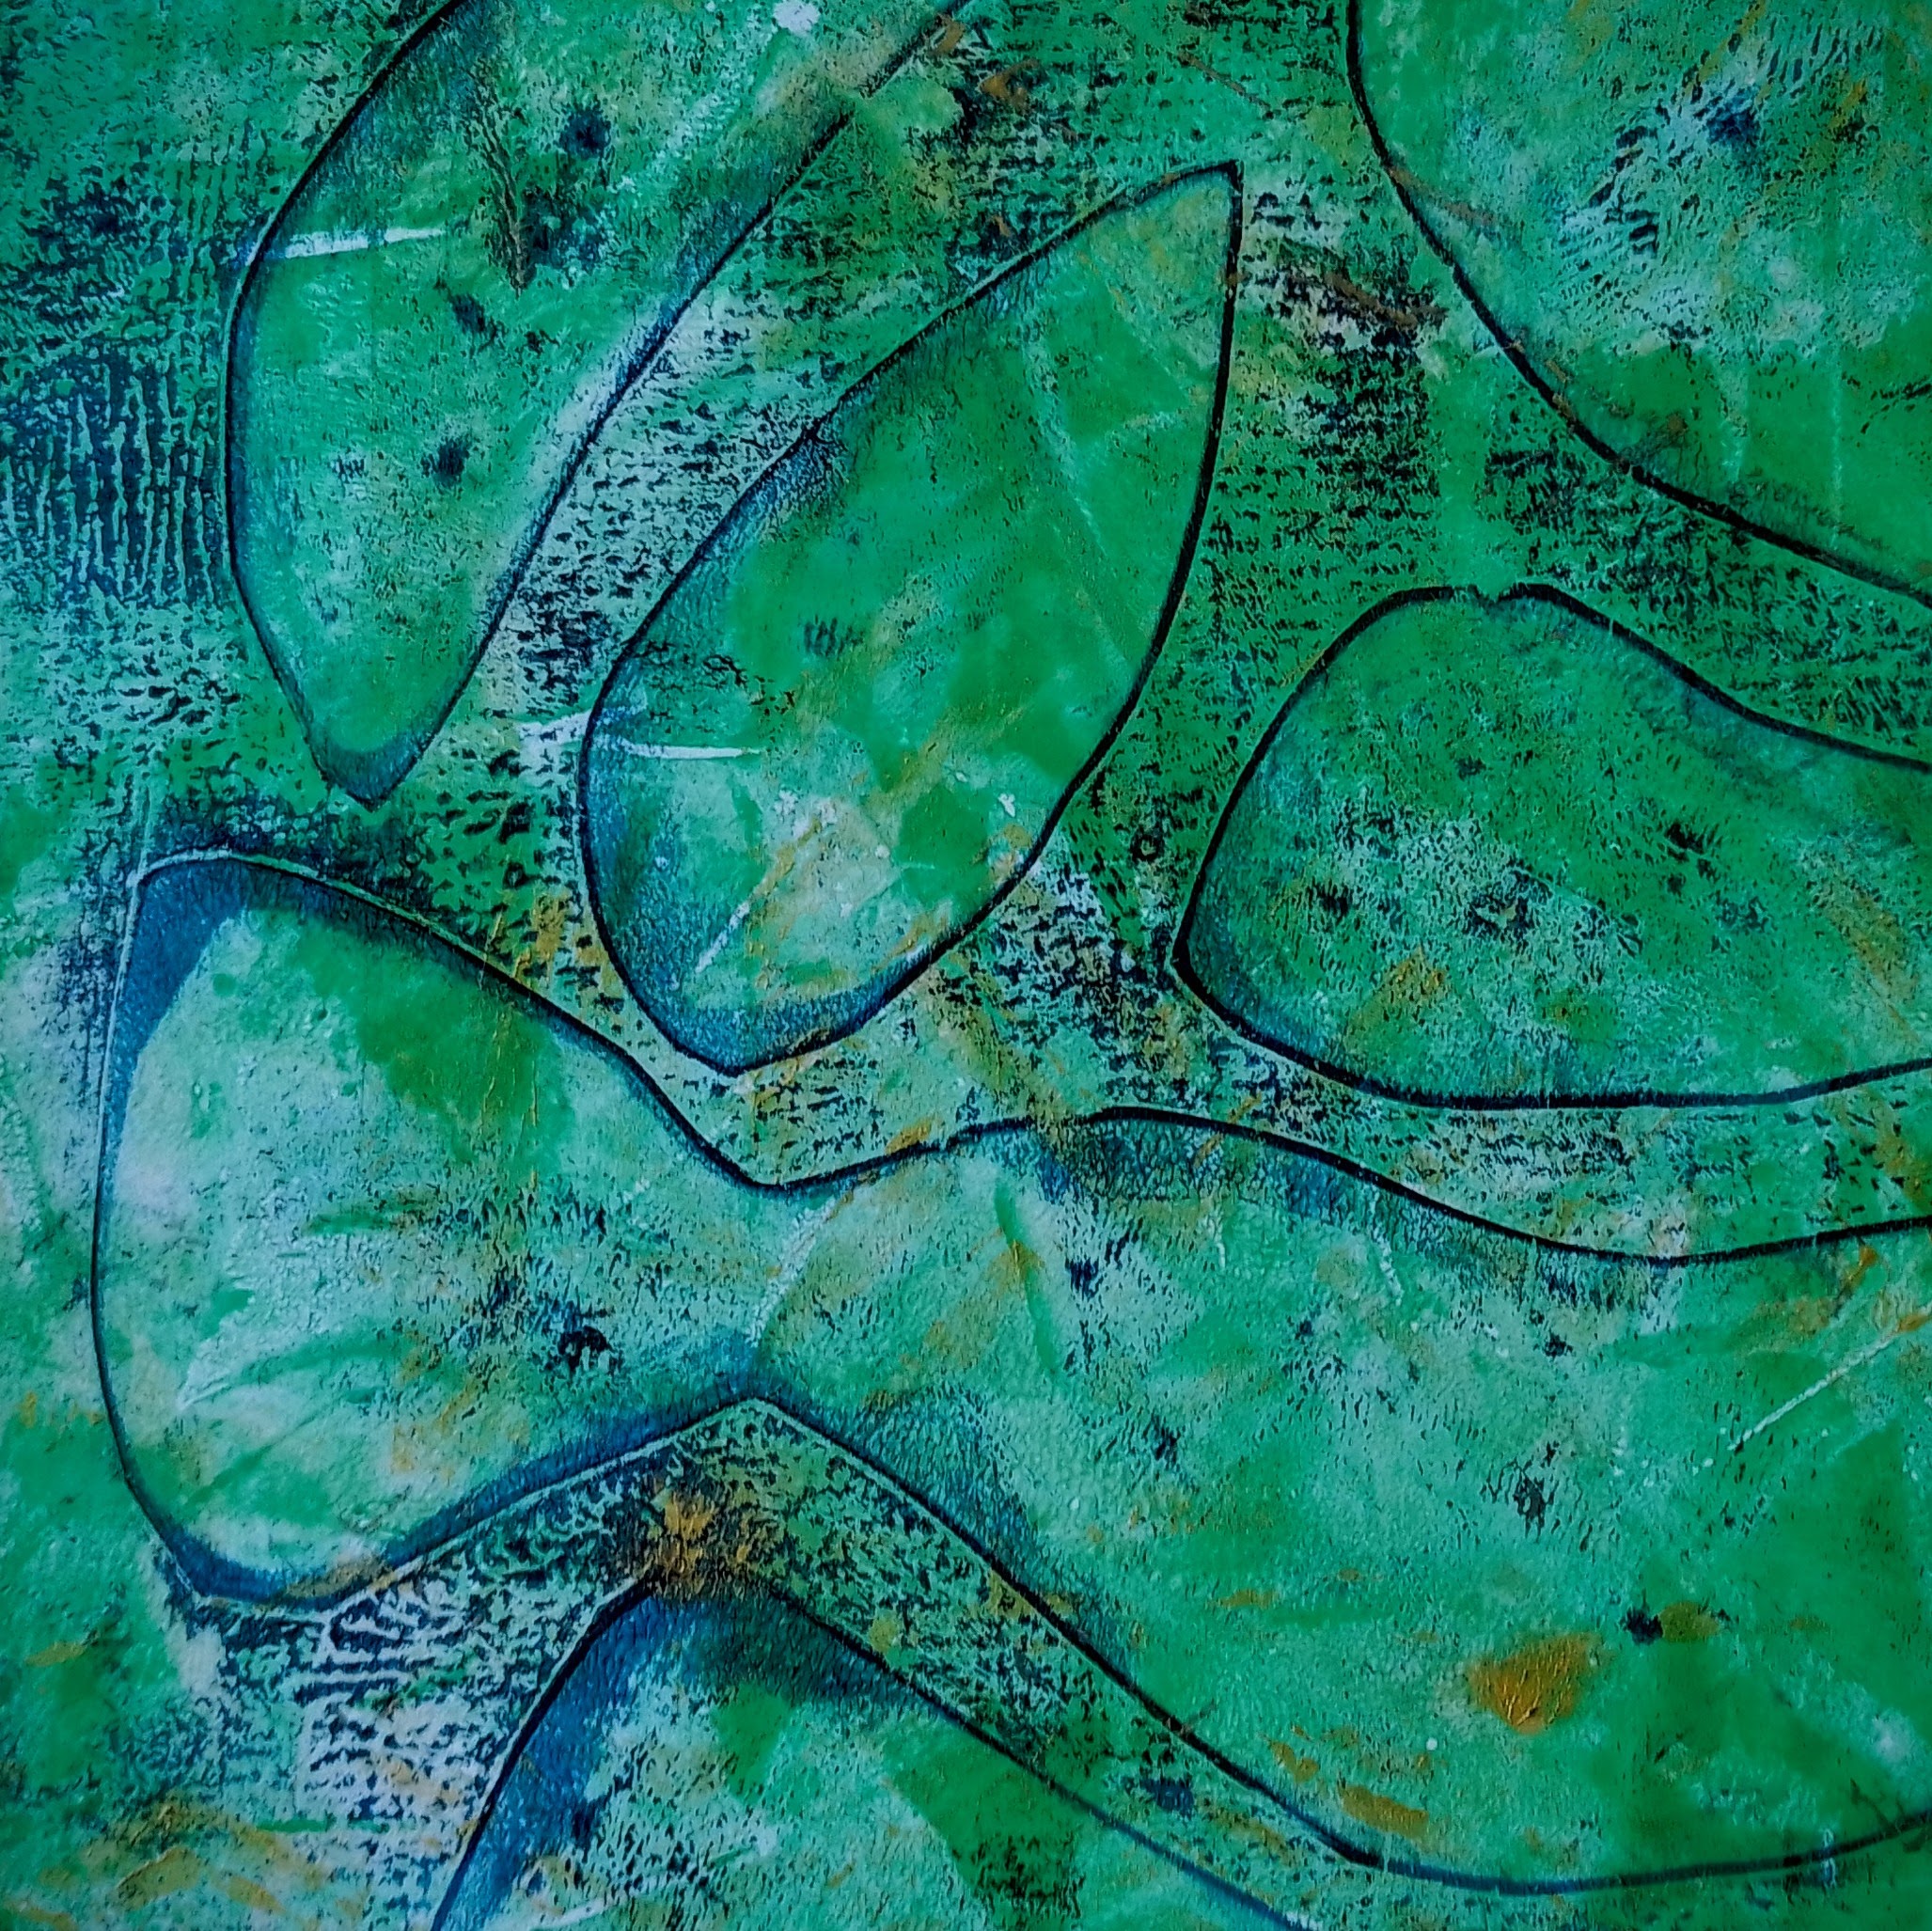
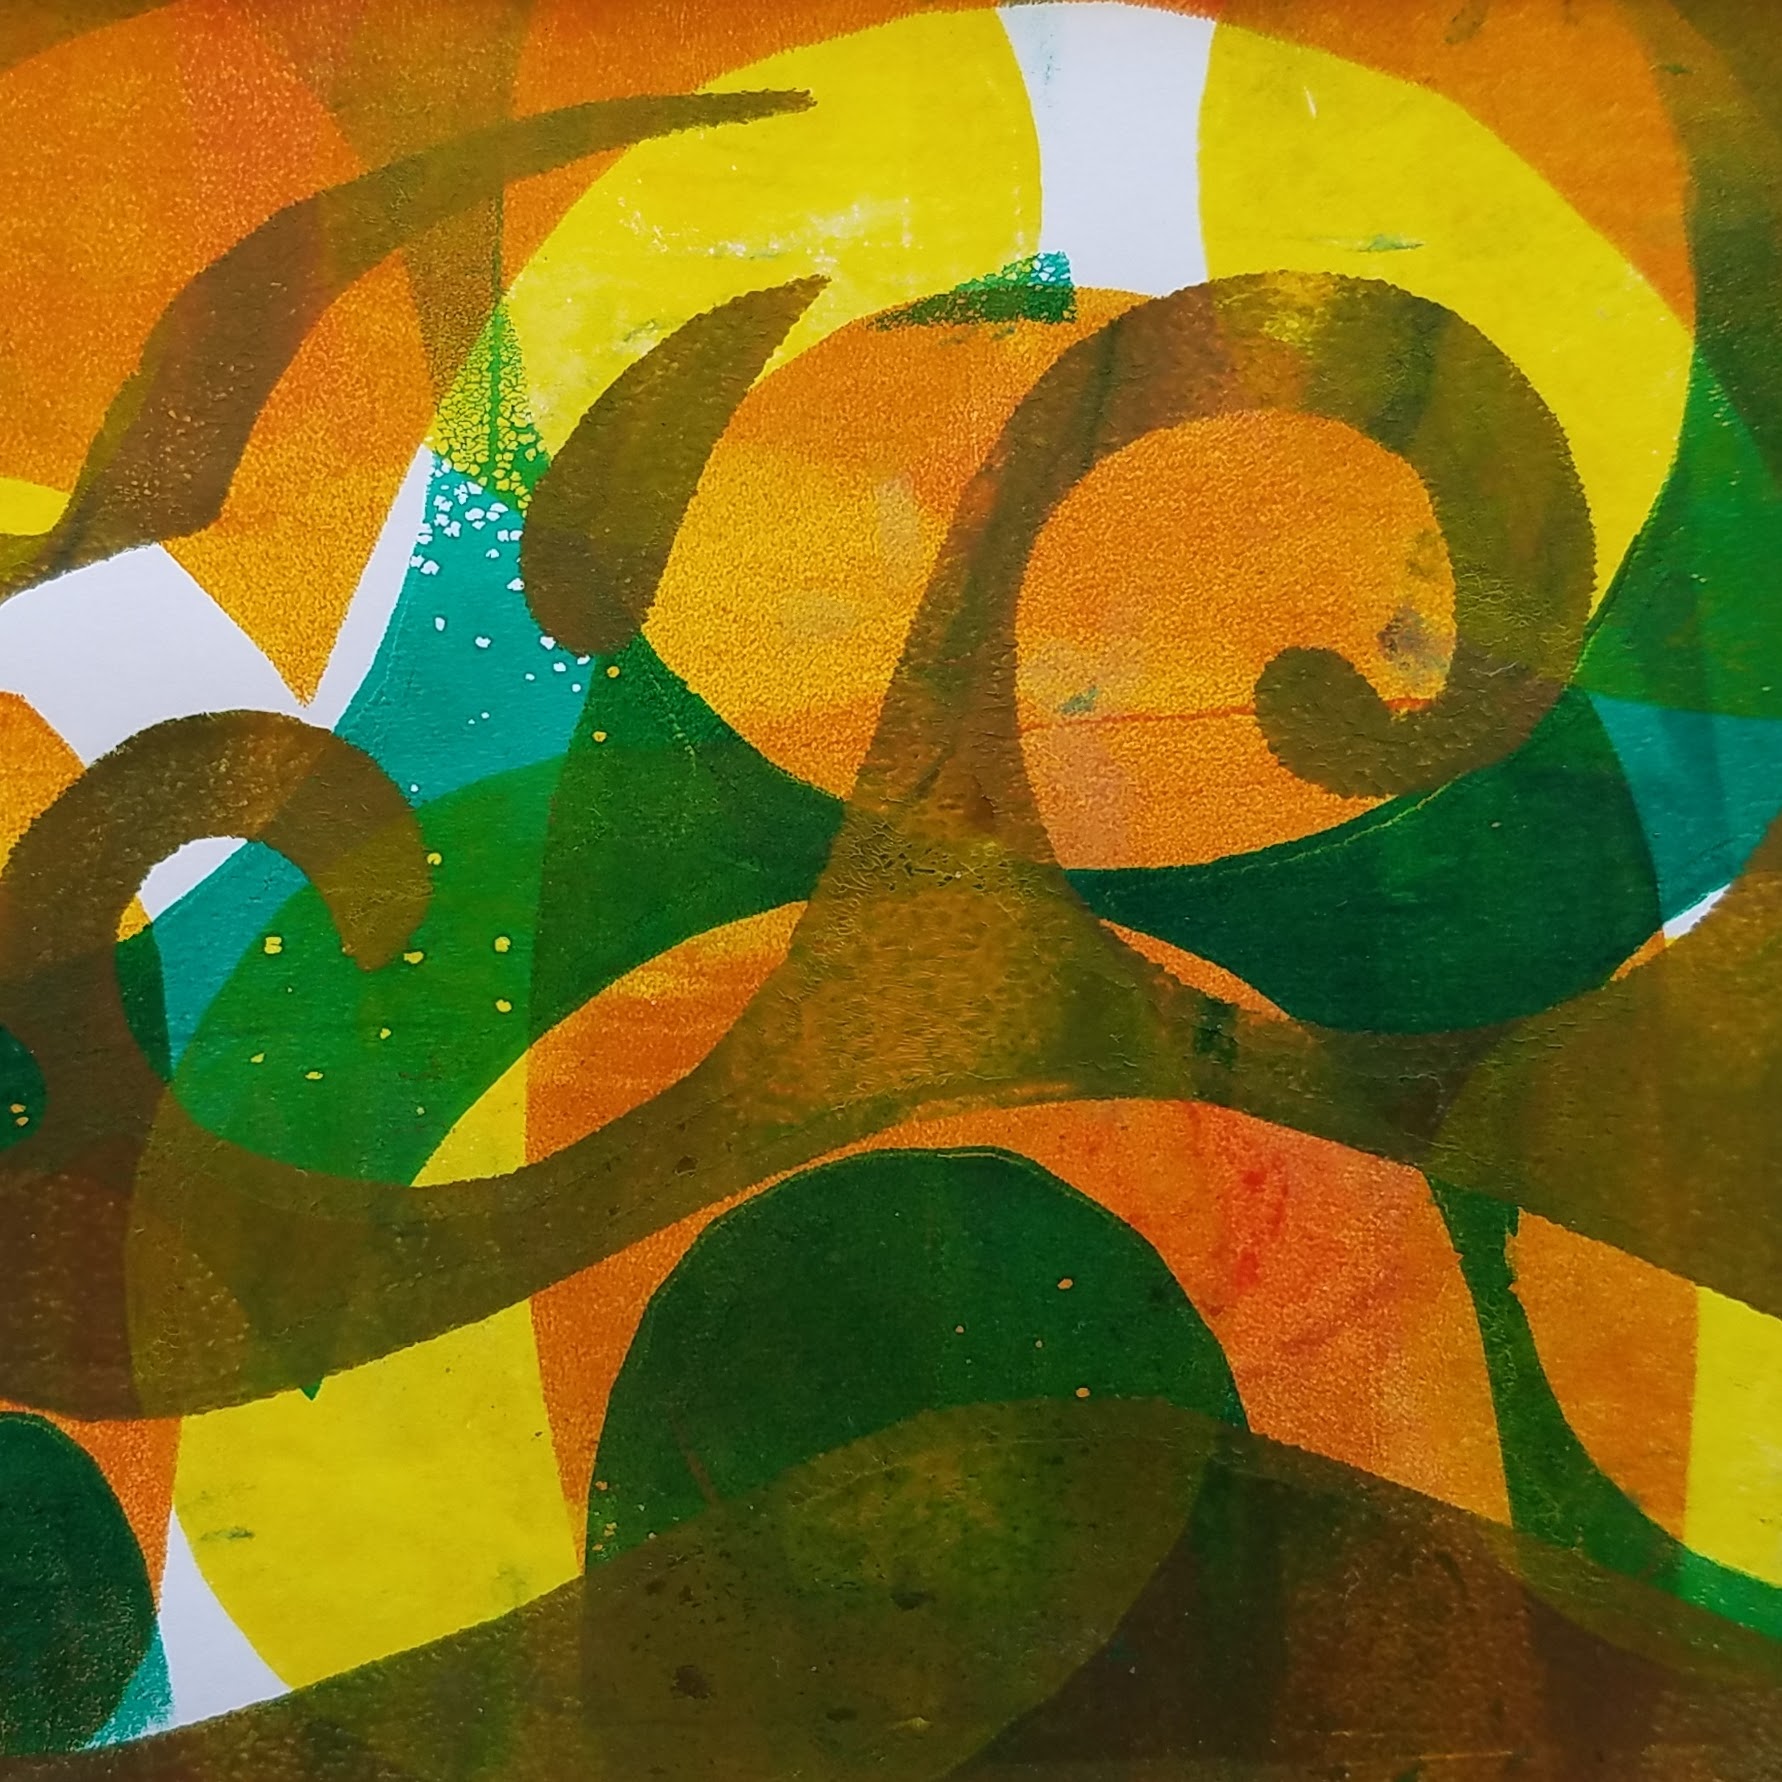
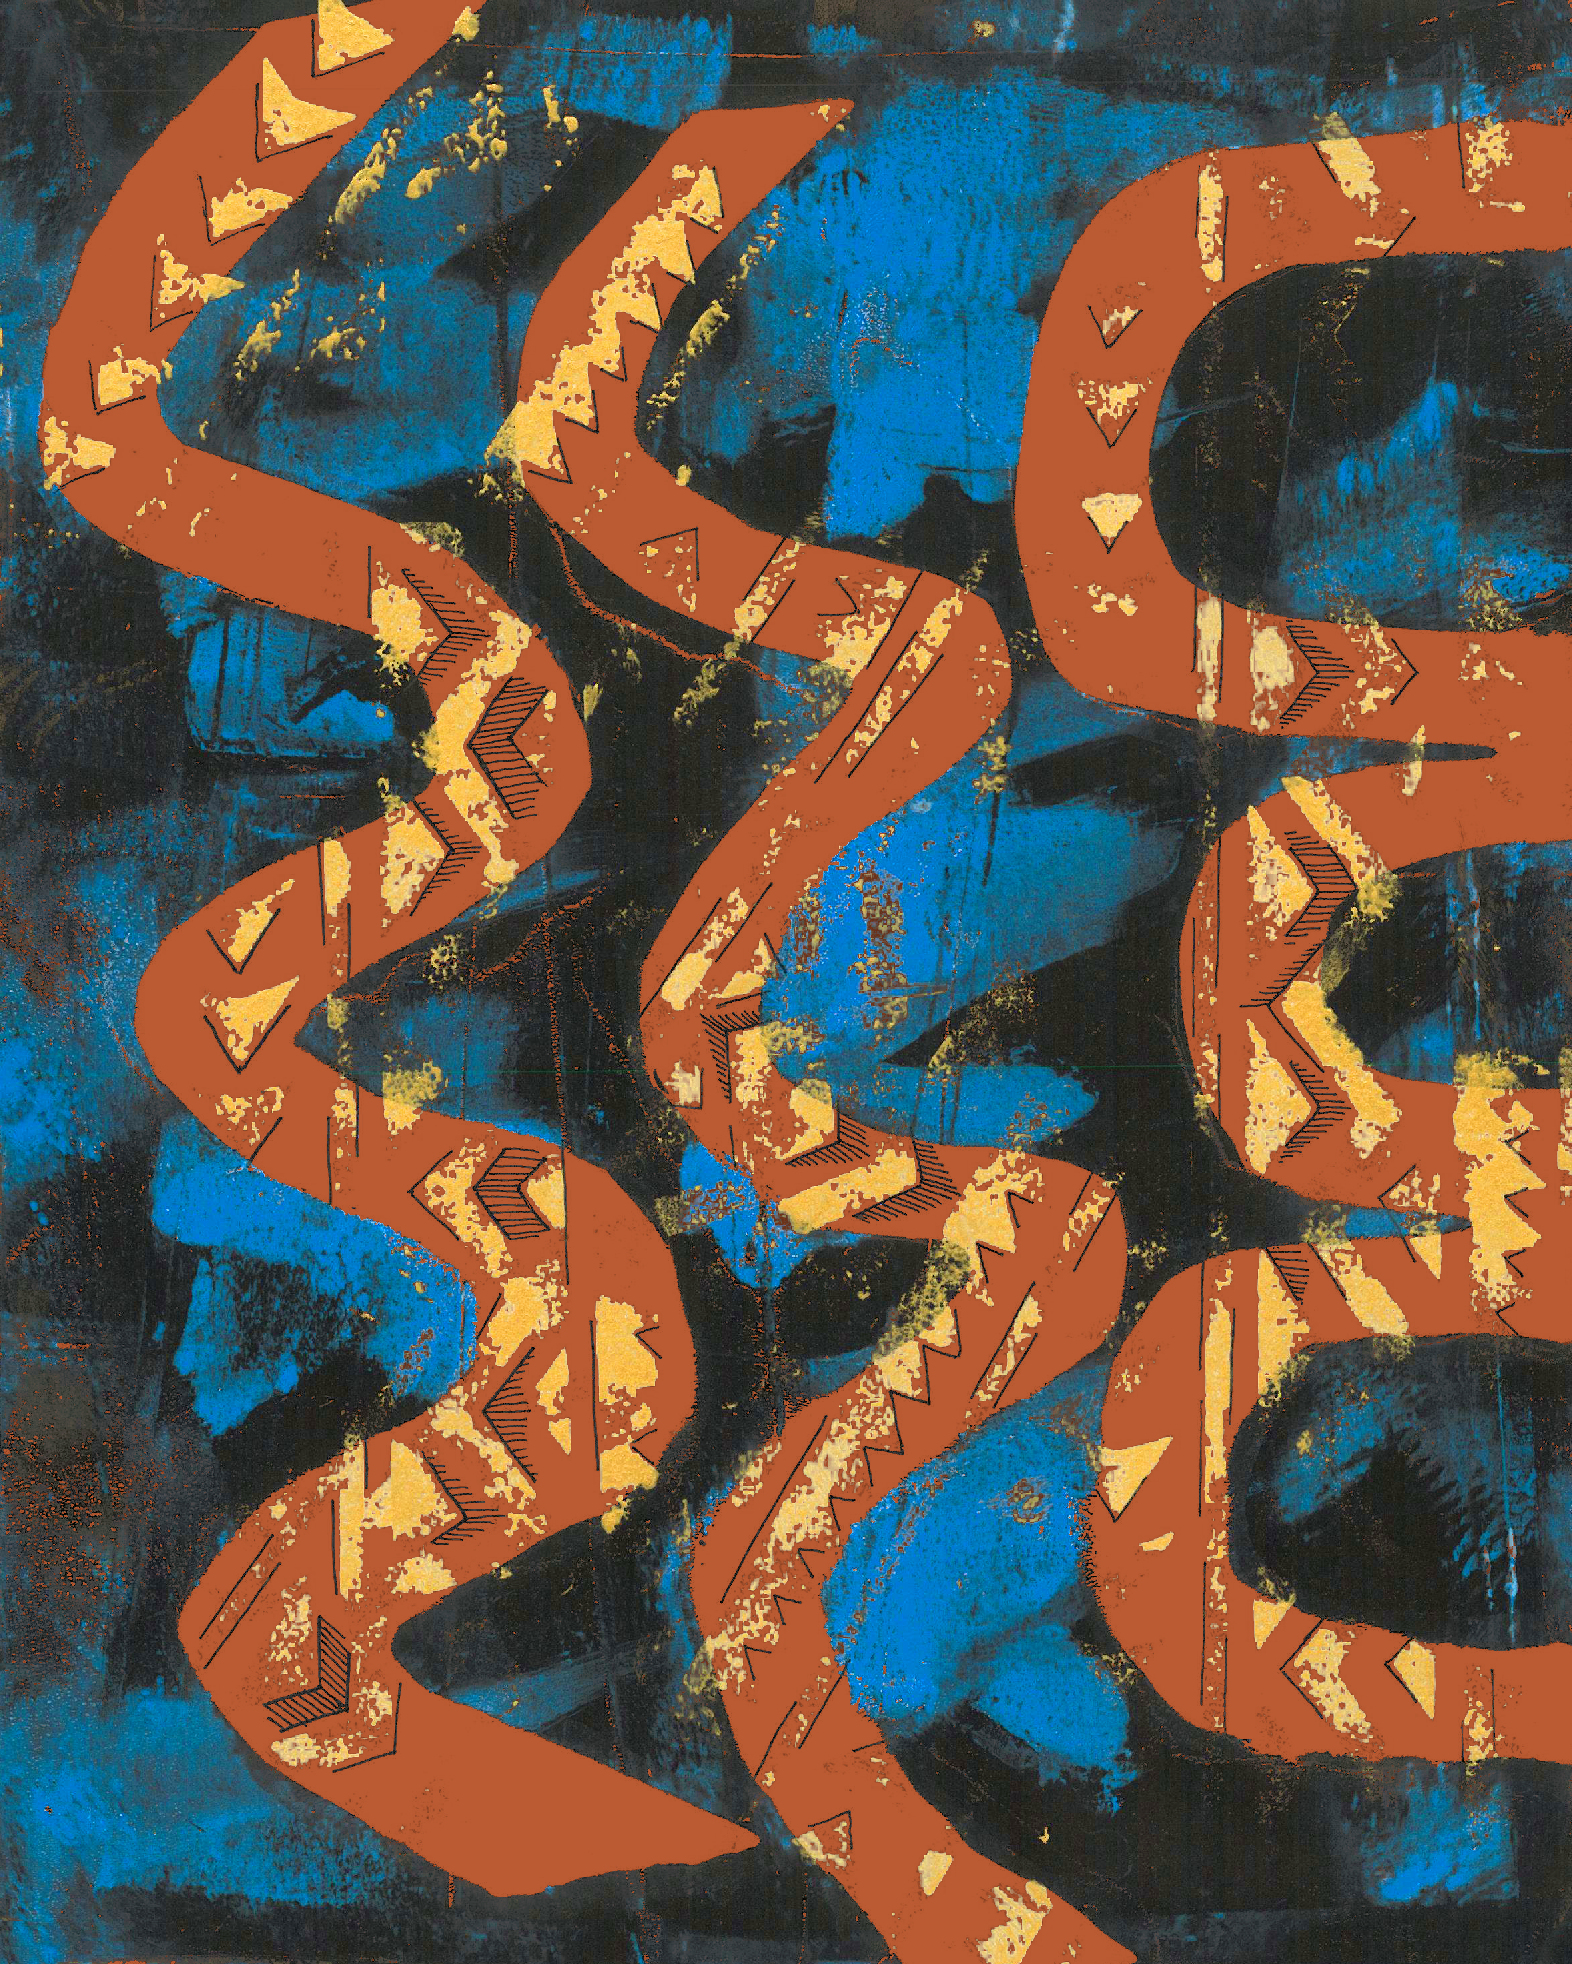
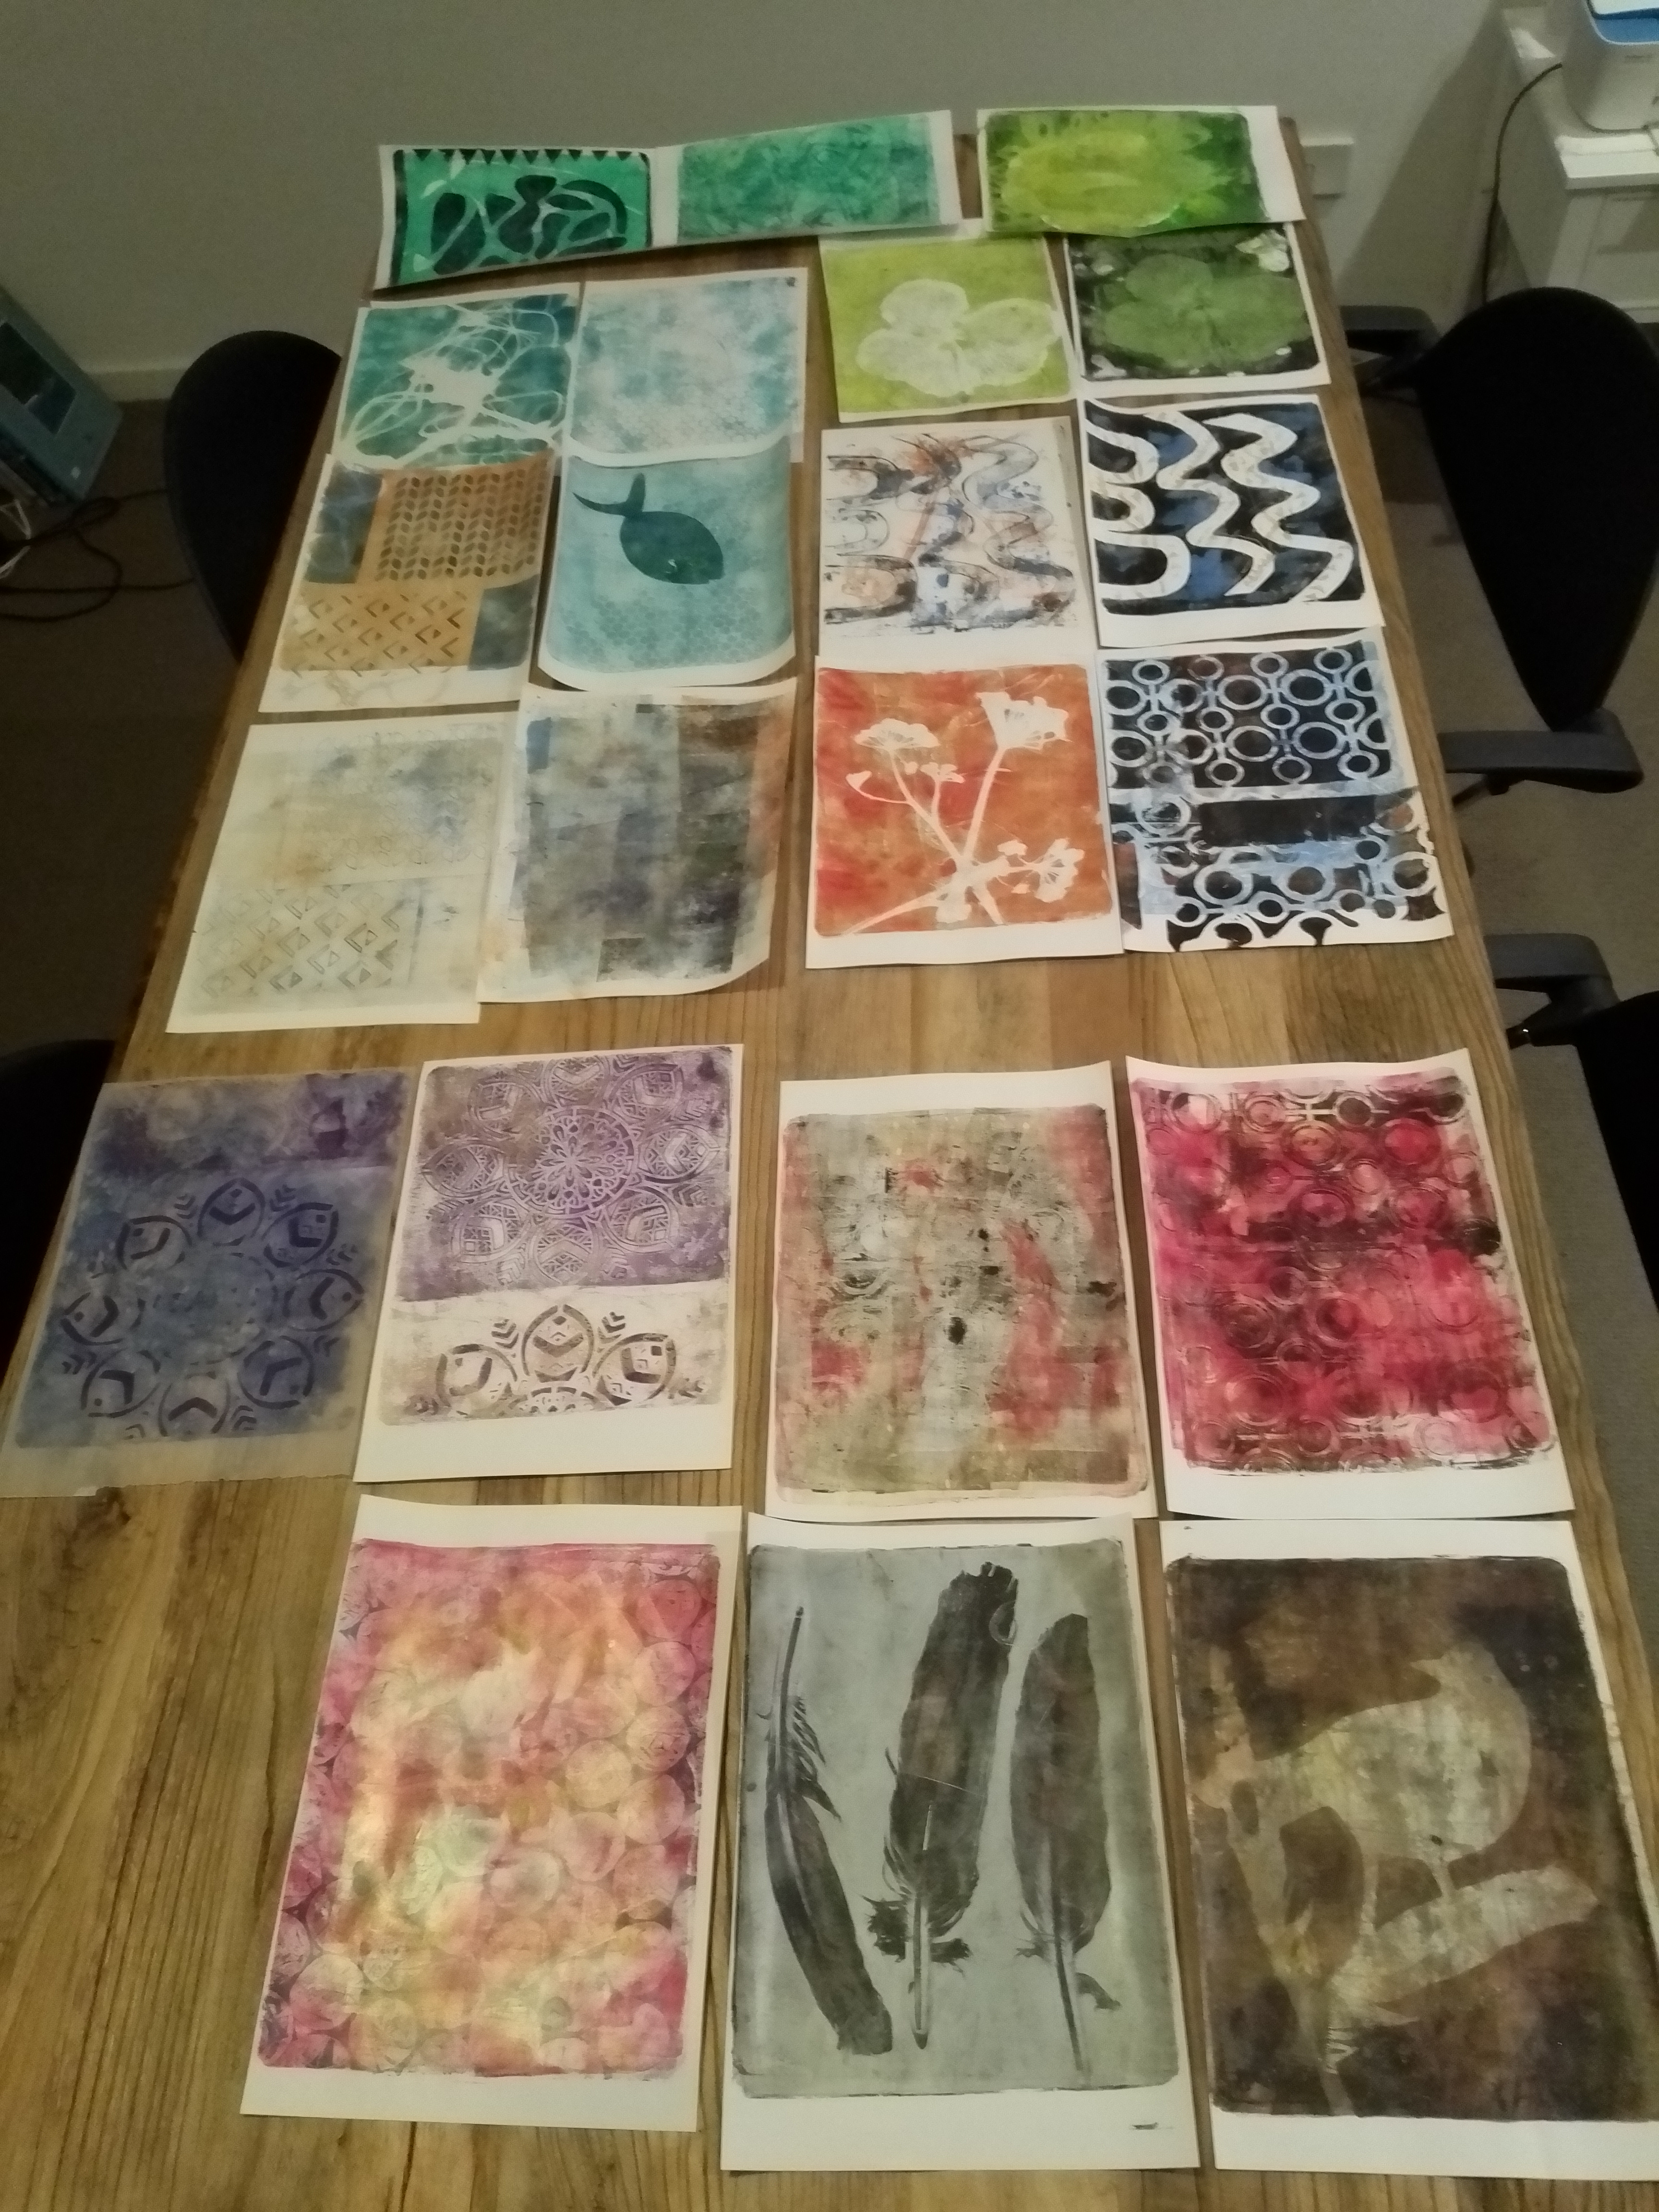
Above are two different styles and methods of painting. Two different ways of expressing oneself. Neither is right or wrong, good or bad. One may appeal to you more than the other. That may indicate a place to start your journey, or it may be the place you want to get to.

Start With an Art Journal

If you’ve always wanted to be a watercolor artist then just take classes and keep practicing your skills. Watercolor is not easy but you can learn systematically and improve with practice. If you’re not sure what or how you want to paint or create art, then it’s a good idea to collect inspiration in a journal to discover what motivates you and what you like.

Even if you know the style of art that you want to produce, it’s a good idea to keep an art journal as described below because it will help you progress as an artist.

  • Buy a cheap 5×7 or 8×10 sketchbook at a dollar store.
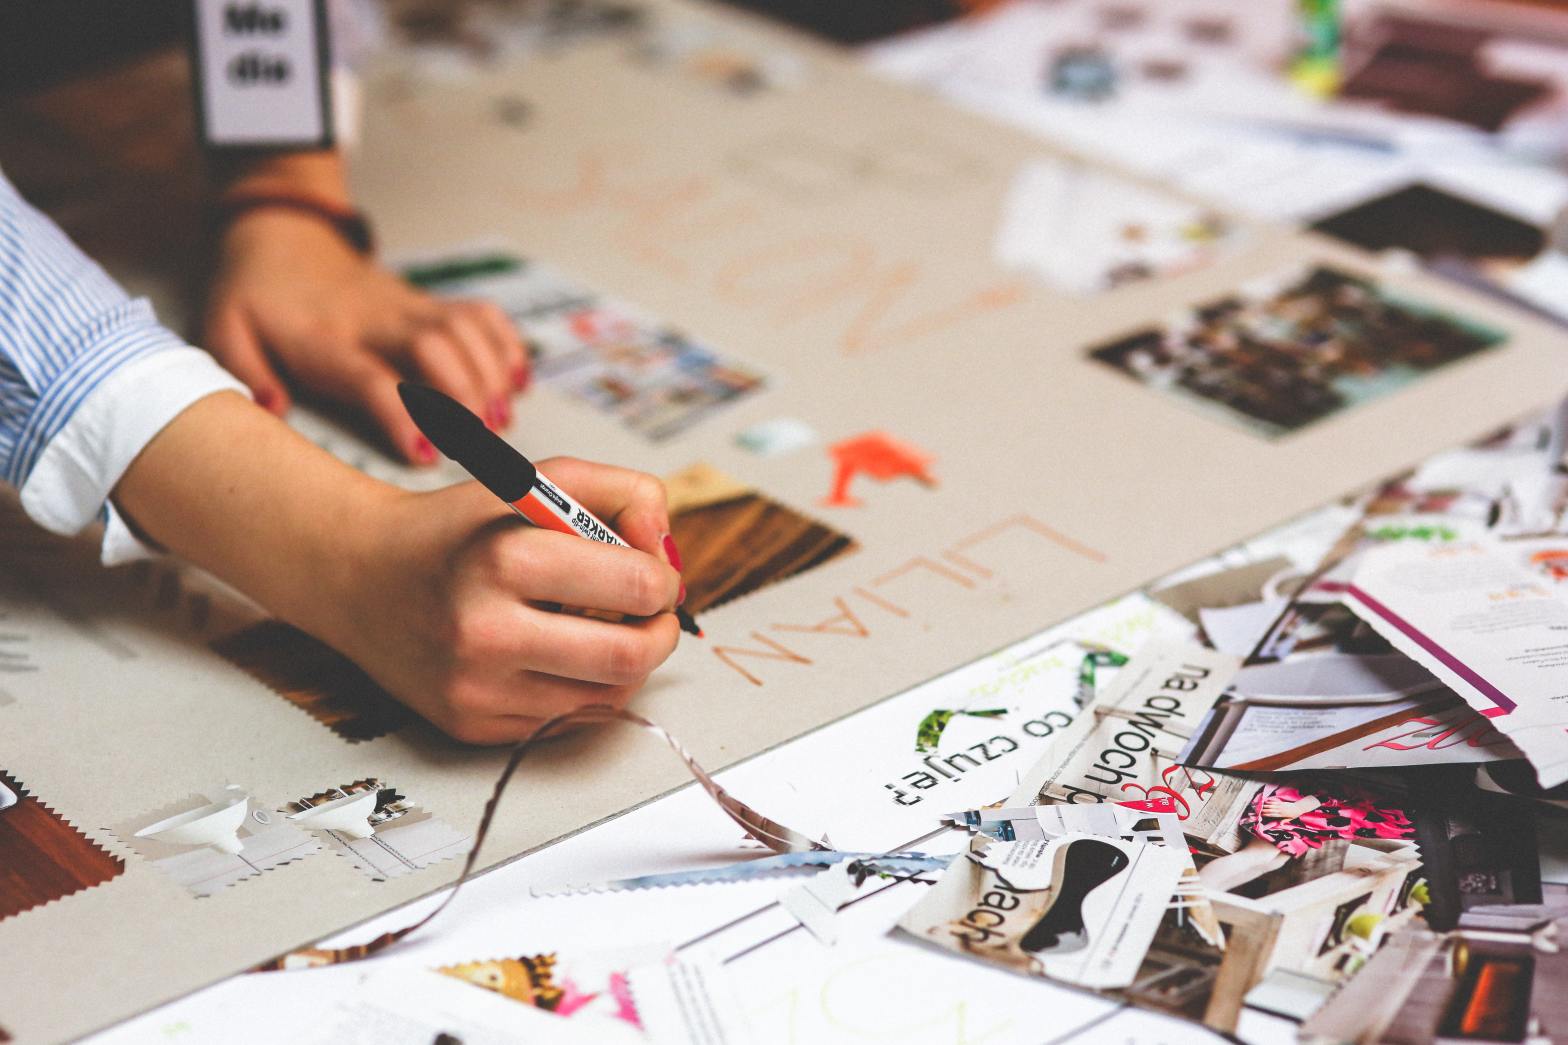
  • Look at art magazines and cut out images, colours, and designs you like.
  • Glue the images in your sketchbook and make notes about why these images inspire you.
  • Try drawing something similar in your sketchbook and colour it with coloured pencils or paint.
  • Use your sketchbook to collect colours or designs that inspire you and record your thoughts about how these make you feel.
  • Use your sketchbook to practice using different types of paint and mark-making tools. (Note that paint and tools will be different on paper vs canvas)
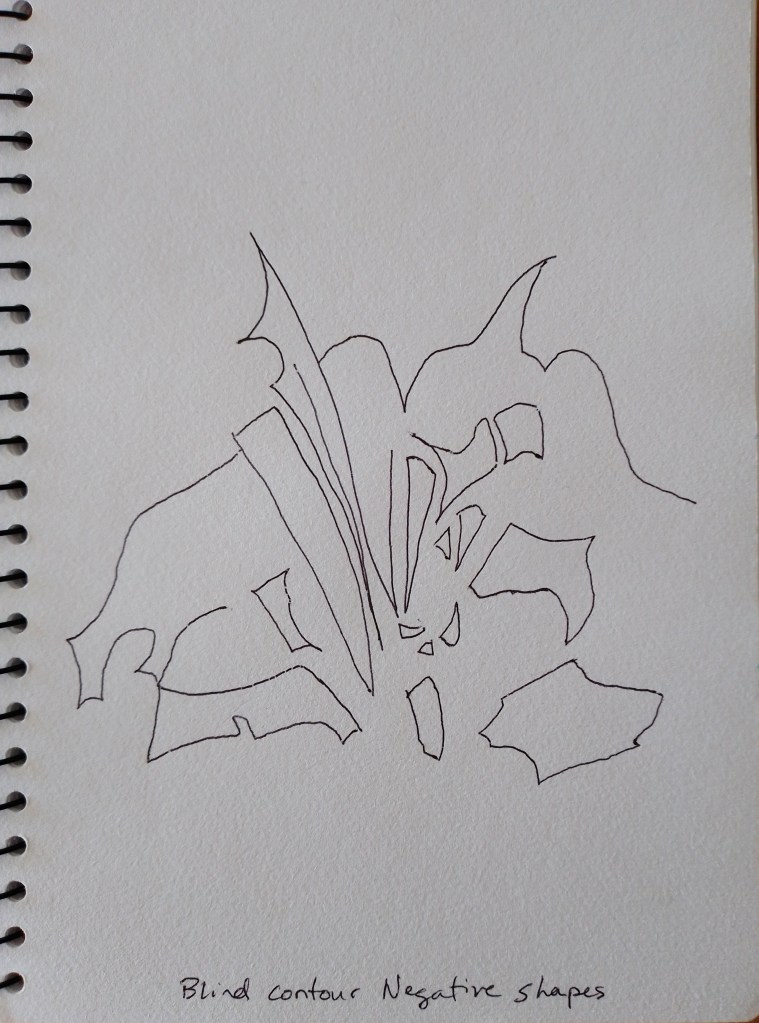
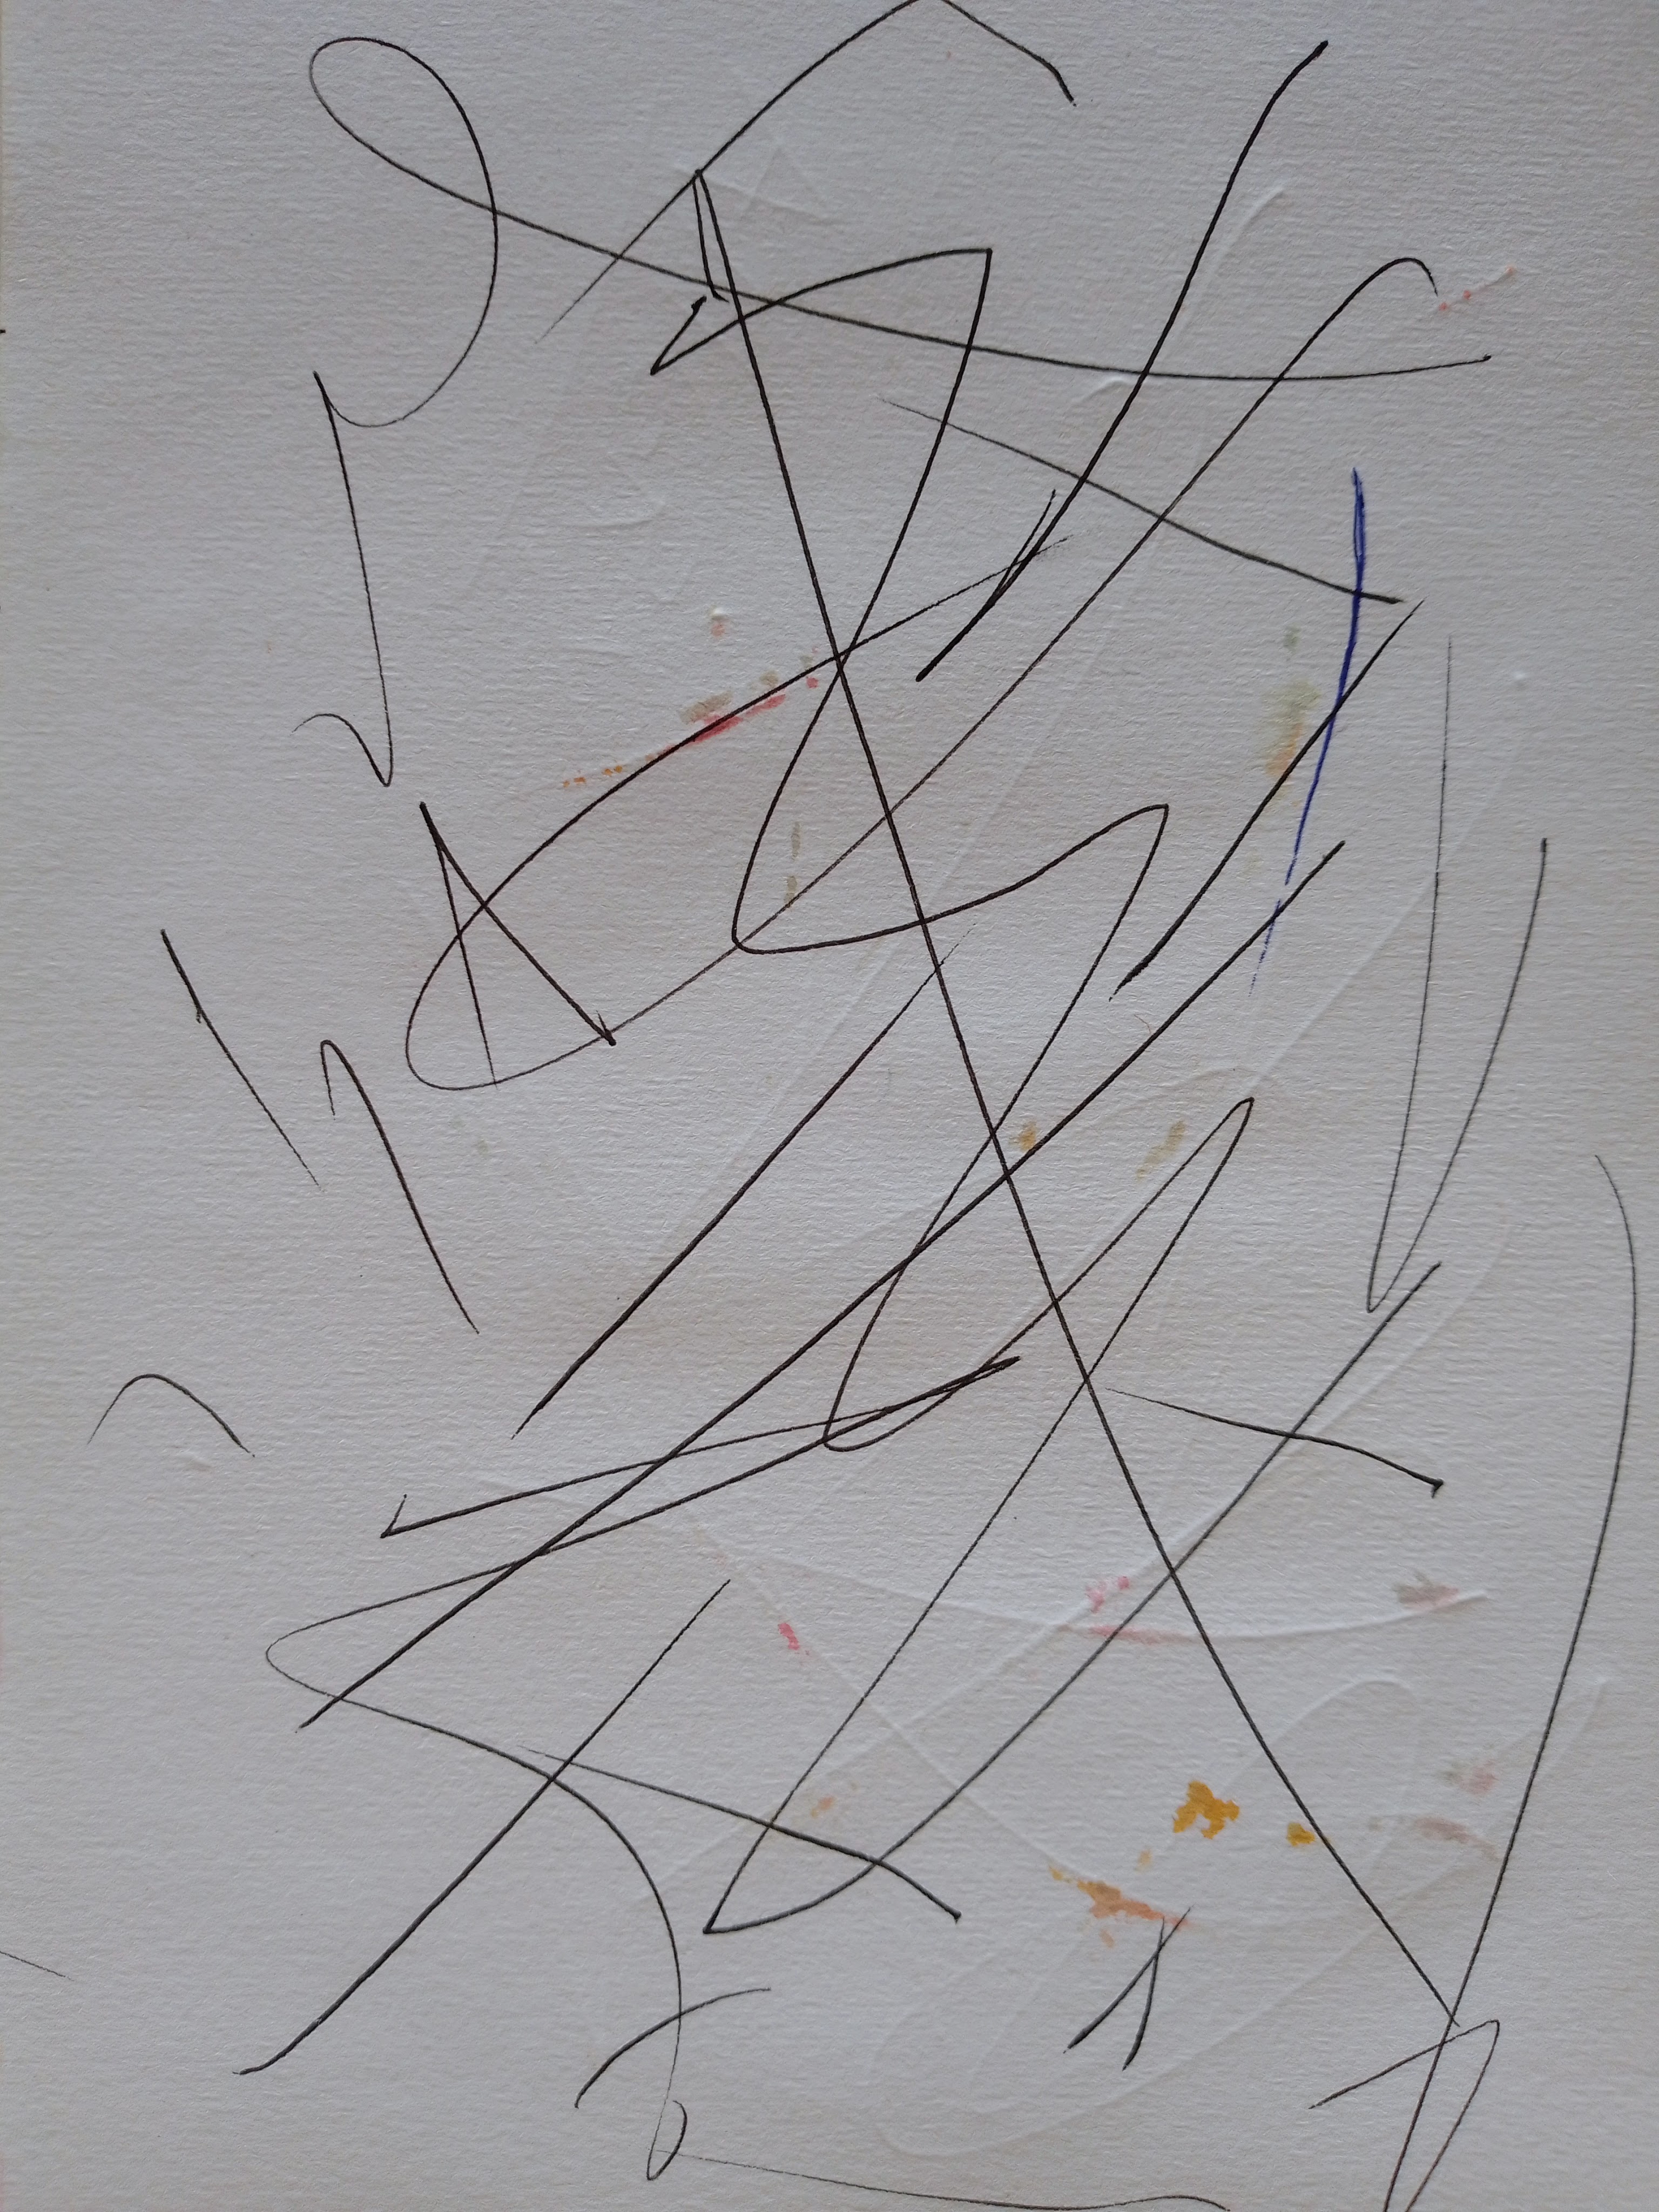
  • Use your sketchbook to try different styles of drawing and doodling.
  • Continue to use your sketchbook and others as an art journal to record your self-discovery and growth as an artist.
  • Go to art shows, galleries, and museums to discover your interests and talk to the artists whenever possible.
  • Don’t limit yourself to this list, art journals have endless uses!

My Journey

I’ve always known who may favorite artists were but I thought I could never measure up to their greatness. It took me a long time of playing around in sketchbooks, going to art shows and meeting artists before I got the nerve to take some classes. My slowness had nothing to do with lack of skills, talent or education, but more to do with uncertainty. Uncertain about what I wanted to create and why.

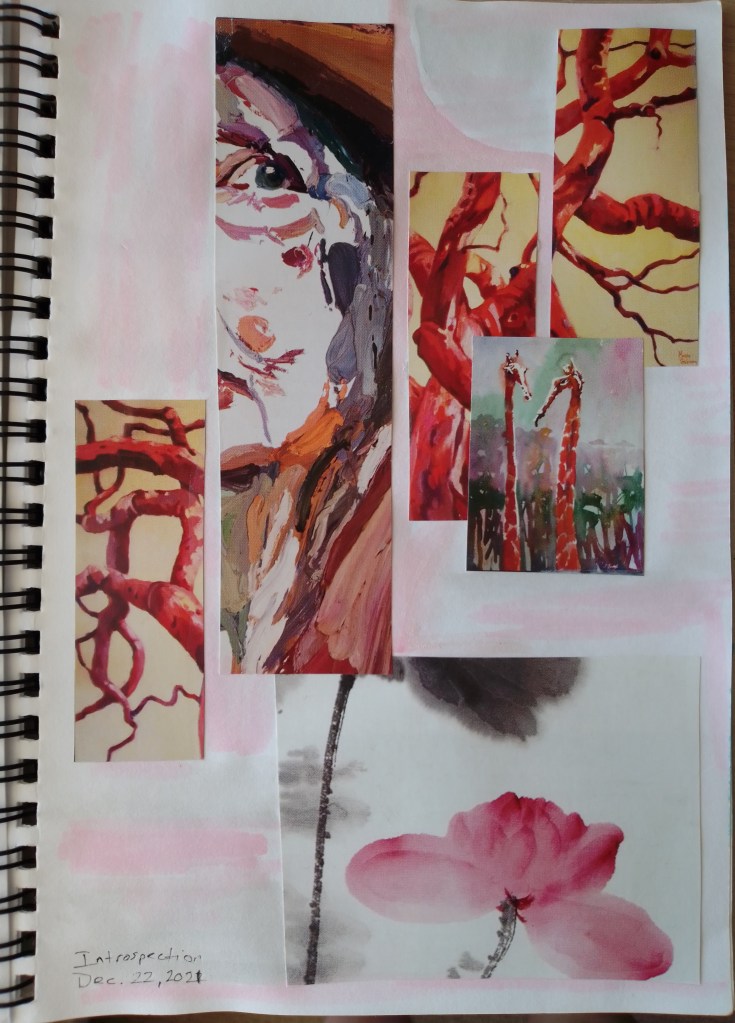
Through the types of journals I’ve described here, as well as intuitive collage journals, I began to discover what motivated me. I also gained confidence in my skills and clarified the direction I wanted to pursue. Expressing yourself through painting is as much about self-discovery as it is about learning skills and techniques.

So try it! Discover who you are and how you want to express yourself. Don’t measure yourself by your art idols, or other artists completed work, because they are expressing who they are and it took them time to get there as well. You can love their work and learn from it, while you take the time to develop your own. Step by step you will get there.


Next Project:

Brushstrokes With Nature

Sometimes a paintbrush, pencil or other typical art tool can limit the types of marks we make in painting and drawing. It’s easy to have a narrow view of what a drawing or painting should look like so often we get stuck in the way we do things. One way to get out of a rut is by using different tools, unexpected tools, to make art.

Here are some ideas you might want to try:

  • Use sticks, leaves or branches dipped in ink or paint
  • Tie your pencil to the end of a branch for looser drawing
  • Use parts of a plant as a stamp
  • Use natural objects as stencils

The image above was just an experiment on cheap paper. I used the parts of the plant I wanted to draw to create each stem, leaf, and flower. I started by dipping ferns in ink and pressing them gently on the paper. Then I dipped the end of stems in ink to make long strokes, and dipped the tiny flowers in both ink and paint to add them to the stems and fill out the bouquet. The orange flower is the imprint of a flower dipped in paint. Finally I used a brush to add green to the leaves and stalks. The strokes to represent a glass vase were added last with a small branch.

What Does It Do?

Experimenting with mark making tools activates different thought processes. I would have never been able to make the image above with just a paintbrush and pen. I wanted to see if the plants could create an impression of their own image. But I could have used a stick, branch, or flower to draw anything, not just itself.

The important thing is to find a variety of objects that you can make a variety of marks with. When you do this the neurons in your brain will make new connections because you’ll be doing something completely novel. You will also discover something about what you like or don’t like, and you may find a new way of expressing yourself.

Just play like you would in a sand box

It doesn’t have to be a masterpiece or something that hangs on a wall. It’s just a way to explore possibilities in expressive art making, try different tools, and learn something about yourself in the process.

Just play and have fun!


Next Project:

Self-Empowerment Through Intuitive Collage

Intuitive Collage is a process that begins with sensing within. It can be a fast and easy daily practice to identify and clarify your thoughts and feelings and gain insight about your life. It’s one of my favorite self-healing and empowerment practices.

You’ll need 2 or 3 magazines, paper or a sketchbook, scissors, and glue or a glue stick. This should only take between 10 to 20 minutes.

  1. Begin with a moment of quiet to settle your mind.
  2. Lightly flip through the pages of a magazine not focusing on anything in particular. Try not to have any concepts about what you’re looking for.
  3. If a particular image, colors, design elements, or words stand out or pull your attention then rip or cut them from the magazine.
  4. After you’ve collected 3 to 6 images arrange them on your paper in a way that’s pleasing to you. You can further cut or crop the images any way you like and you don’t have to use all of them.
  5. When you feel satisfied with the arrangement then glue the images to the paper or sketchbook page.
  6. Take a moment to contemplate your collage, then give it a title. If you feel inspired you can also write any words that come to mind, or even poetry, on the back of your collage.
  7. Leave your collage or sketchbook in a place where you can glance at it to admire your creative expression.

You might start with a prompt word if you want to explore a specific theme or emotion. If you do that, try not to form pre-conceived ideas about what type of images you’re looking for. This intuitive process of being led by your inner senses is meant to be a doorway to your subconscious thoughts and feelings. Use any images that pull you even if you don’t like the image.

Contemplate your work:

What is the collage saying to you?
Does it reflect anything in your life?
What part of your self is being expressed?


Next Project:

Grounding With Meditative Nature Drawing

Grounding with Meditative Nature Drawing

Contour drawing is a skill you learn when you take any basic drawing class. I learned it in middle school, but adapted it later in life as a mindfulness coping skill. The way I learned contour drawing was to look at the subject matter and not the paper (called blind contour drawing), then move the pencil (or other drawing tool) as your eye follows the outline of the subject. This developes eye-hand coordination.

I adapted this to a coping skill in two ways. First as a meditative or Mindfulness practice, whenever I felt undue stress or anxiety, I would follow the outline of any object that was near me with my eyes only, not drawing. This is calming and focusing. It also develops an appreciation of line, shape and form. But mostly, it’s grounding, connects you to the here and now.

Meditating With Plants

The second way is that I have used blind contour drawing of plants as a meditative practice. I have a lot of potted plants, most with big curvey leaves that twist and turn. As the leaves and stems twist and turn they make very interesting shapes. Following the outline of the plant with a pen or pencil requires no thinking. If you look at the drawing while you are drawing you start thinking, judging and making decisions. Instead, if you loosen your focus and let go of thoughts and expectations, focusing only on the plant outline your hand and pen will automatically follow your eyes around the shapes of the leaves and stems of the plant.

This is not meant to be a realistic or detailed drawing. You can use either positive or negative shapes in this practice. (Negative shapes are the spaces between objects.) A ball point pen is a great tool for this because of it’s smooth glide, but you can use any drawing tool and paper. This is also often used as a warm-up practice for art-making.

Try it!

I find that focusing on plants is very healing and comforting. If you’ve had trouble meditating in the past you might try this practice. It’s similar to using the breath in meditation, it focuses your mind on one simple and very natural thing, the percieved lines of the plant or the spaces between.

Looking at the same plant from positive shape and negative shape perspectives.


Next Project:

Scribble to Release Stress

Scribble to Release Stress and Emotional Build Up

Don’t you sometimes want to scream or cry but you can’t? It’s often not the right time or place to express our emotions, so the resedue of unexpressed emotion accumulates. After all, we’ve been taught since infancy to calm down, bottle up, shove it in deep, and behave nicely.

Social etiquite and manners are important, but so is learning to accept and process emotion. One unoffensive way to express and process emotions is to scribble them out. It’s easy to do, quick, and stress relieving!

You might want to do it colorfully to emphasize those strong emotions, or you might just grab the closest writing tool and scratch it out!

They’re just lines, but can you feel the emotion? An artist will often use line purposely to indentify, express and convey their subject matter, and express emotion and movement. But some artists also create art by just letting their emotion and subconscious mind flow through their paint brush or other tools without having a preconceived idea.

Regardless of wether the artist is doing realistic or abstract work they have an intention that is expressed through line as well as all the other elements of their artwork. Scribbling is sometimes used as a warm-up activity before drawing or painting.

In the case of these scribbles I’m using line to extract the emotion from myself and put it on the page so that it doesn’t become suppressed.

Creativity From Scribbling

Scribbling doesn’t just apply to upsetting emotions like anger and frustration. It’s a great way to tap into your subconscious and release creative possibilities.

These are just quick scribbles in one of my art therapy sketchbooks. I used ball point pen and colored pencils in the first one and markers in the second one. I started with no concepts about what I would put on the page, my only intention was to scribble and see what came out.

After the pen scribble in the first image, I noticed that the movement and shapes reminded me of dancing in night clubs when I was younger. I decided to put some color in it to emphasize that more. Then I gave it a title which caused more words to come. I just wrote and it became a poem. I have no poetry training, I just write what spills out.

For the second image I started with colored markers but again had no pre-conceived ideas. I chose a color and let the marker go where it wanted. When I was finished I felt it reminded me of walking at a specific park with my daughter. So again, I named it and wrote a poem about it.

Scribbling is not just for kids

Some artists also use scribbling as a warm-up practice, or to tap into the subconscious. It’s called Automatic Drawing and you can read about it on Wikipedia, or Google it.

It’s good for you, so let go and scribble to…

  • Release stress
  • Accept and process emotions
  • Tap into your subconscious mind
  • Open a creative portal
  • Relax and have fun

Exploring Neurographica for Mindfulness and Creative Flow

I only discovered this a couple years ago and I don’t do it very often. However, after trying it I decided it was worth adding to my creative toolkit. I get bored easily so I like having different creative practices to choose from when I want to do an art warm-up or a Mindfulness practice.

Neurographica is a drawing technique that you could say starts with a random scribble or doodle. There are three rules for the lines:

  1. Begin and end a line at the page edges
  2. Draw the line intuitively not following a repeated pattern or design
  3. Wherever the lines cross forming corners you will round the corners so there are no points.

You can see in the first and third images below that I disobeyed a couple rules. (I can be naughty at times!)

Some Explination From Neurographic Academy

Neurographica® Theory is built on solid scientific principles, combining visual thinking with the laws and patterns identified by various schools of psychology. Namely: neuropsychology, analytical psychology, Gestalt psychology, Psychosynthesis, social psychology and modern management theory.”Neurographica website

Neurographica® is a unique art method that immediately puts your mind in a relaxed state of flow, synergistically connecting your subconscious with your fingers as you draw.”Neurographica website

You will find all the information you need to get started with this technique on the website links above, plus much better examples than mine. I wanted to include the statements from their website because they can explain it much better than I can. I have not taken any of their courses.

My Experience With Neurographica

My understanding is that the places where lines cross represent the stressors and problems in your life. By rounding the corners or points you are smoothing out the pathways between neural connections wich allows greater flow and reduces stress. Now, keep in mind, I think I heard that on a YouTube video, not the official website. I’m sure there’s more to it and there are plenty of free tutorials on YouTube that you can check out like I did.

I will say that rounding the corners is stress reducing but slightly boring (remember I get bored easily). The more complex images above I did gradually over a period of days, maybe 10 or 15 minutes a day. The lines and corners are done first, then you can add color if you want to.

In the second image above I used colored pencils and followed what appeared to me as I colored. In the large image above I used watercolor, because when I looked at the black and white drawing I saw a seahorse. I thought a watercolor background would emphasize the seahorse image.

I happen to really love seahorses so I decided to look up their symbolic meaning. Appearantly it depends on which tradition you draw from or which website you go to. There are a plethora of possibilities, but here are a few:

  • patience, persistence, creativity, protection, harmony, and contentment
  • magic, good luck, masculine power, strength, balance, and peace

That sounds good enough to me. I was happy with these experiences because I felt it did tap into my subconscious mind and allow something to flow.

I occasionally use Neurographica drawing in my daily practice sketchbook as a way to relieve stress and stay creative. Because of the intuitive drawing aspect, lack of expectations, and open ended process, it allows the mind to enter a state of exploration and discovery. It’s a good way to relax and open the mind to possibilities.

The Benifits of Zentangle

Creating decorative patterns has been in existence forever. So why has this method become so popular? I think there are two reasons, 1.) It starts with a clear methodology that anyone can learn, and 2.) It’s an open ended meditative and mindful practice based in creativity.

My experience with the official (trademarked) Zentangle method happened while I was recovering from major dental surgery. I was all drugged up, couldn’t eat and couldn’t do much else, so I went to my bookshelf. Someone had given me a beginner’s Zentangle workbook as a Christmas gift so I decided to give it a try. It wasn’t the first time I had created art with repetitive patterns, but it was a different method.

What I Like About Zentangle

  • It’s easy to learn
  • It helps you focus
  • It reduces stress
  • It’s intuitive
  • It increases creativity
  • You don’t need a lot of supplies
  • It’s possibilities are open-ended
  • You can take it with you and do it anywhere

How to Start a Zentangle practice?

The best way is to learn the basics first. There are plenty of YouTube tutorials and books on how to do it. I like the book I used, One Zentangle a Day, by Beckah Krahula, because it started by explaining the process and using the most simple patterns first. The book is a 6-week course with a daily practice of three new patterns and then you incorporate them into a Zentangle each day. So, you end up with 42 Zentangle’s by the end of the book. (I’m not recieving any benifit from promoting this book or the Zentangle website.)

As a disclaimer, I have to say that I didn’t use the official squares, and didn’t buy any special supplies. I just used a cheap 5×7 sketchbook and Copic pen set that I already had. Sometimes I cut squares out of card stock because they were more portable than the sketchbook. I love simple art tools that I can carry in my purse.

Where to go from here?

I don’t do Zentangle all the time now, but I sometimes incorporate tangles or or other things I learned from it into other artwork. It’s a fairly quick daily creative practice that can expand your creative potential as well as be a mindfulness style stress reducer.

One piece of advise I would give is don’t spend too much time on Pinterest looking at the plethora of Zentangle art, as it can make you feel like you’ll never be good enough. Social Media is like that, it’s great for finding info and ideas but it can also be overwhelming.

A Year of Healing With Collage Prompts

This project is inspired by my own personal transformation through following Shelley Klammer’s “Year of Intuitive Collage”. I found Shelley by searching for art therapy online during COVID restrictions. My husband had passed away only a year or so before and I was trying to manage grief and lonliness. It was Shelley’s amazing work as an Expressive Art Therapist and Depth Therapist that inspired me to study Art Therapy so I could share the benifit’s of creativity with others.

This project is easy and fun and will help you rediscover yourself in an empowering way. Below is a list of prompt words for each week of a year (52 weeks, any start date is okay). Meditate on the prompt word briefly and then choose images from a magazine or other sources to assemble an intuitive collage. For more info on Intuitive Collage click this project link, or watch these great video’s on Shelley Klammer’s YouTube page.

During my year of intuitive collage I mostly worked with digital collage on an App called Freemix. However, after that I started a practice of bi-monthly magazine and paper collage in a small 5×7 notebook. I find collage to be a great way of processing emotions, inspiring creativity, and developing self-love.

Intuitive Collage also inspires me to write, which adds another layer of depth to the emotional processing. During the year of collage I wrote about it on my personal blog and then created the ebook below. Click this link to view my Year of Healing with Collage Flipbook.

Why Is Gelli Printing So Popular?

That’s easy to answer because it’s lot’s of fun! Making Gelli prints is an intuitive process that creates unexpected and novel results. The process stimulates curiosity and exploration. The more you let go of expectations and just experiment, the more fun you will have!

Creating Gelli prints is a type of mono printing. Usually the process involves layering color and design by pulling successive prints on the same sheet of paper. However, you can also create a complete image on a Gelli plate and do a one layer print. But usually the greatest creativity and enjoyment comes from intuitively layering design elements and colors.

The resulting prints can be used as a decorative item or as collage paper for future creations. Gelli plates can be a bit expensive, but if you enjoy the process you will get a lot of use out of it.

I find that creating Gelli prints is liberating and relaxing. It gives me a sense of accomplishment because I can make something out of unlimited possibilities without needing to plan or control the results. Even the worst mess is useful because it can be transformed. It’s one of my favorite creative processes because it leaves me feeling empowered and open to new ways of thinking.